

Downlight Spacing Guide for NZ Homes: Distances and Layouts


For general lighting under a standard 2.4 m ceiling, space wide-beam downlights about 1.2 to 1.5 m apart and keep the first row roughly 500 to 600 mm from the walls. Tighten the spacing where you need more light, such as over a kitchen bench, and widen it in hallways. The right number then follows from the room’s area, the light level you want and the output of the fittings you pick.
This guide sets out the rules of thumb used by New Zealand lighting specialists, shows how to work out your own numbers, and covers the building and electrical checks that apply here.
TL;DR
For general lighting at 2.4 m ceiling height, plan on 1.2 to 1.5 m between wide-beam downlights. Concentrated beams sit closer, at about 1 m.
Place the outer row about 500 to 600 mm from the wall, or half the fitting spacing for an evenly spread layout.
Start with about one downlight per 1.2 to 1.4 m² in lounges and bedrooms, then adjust for ceiling height, beam angle and brightness.
Put kitchen downlights over the work area, not behind you, and consider separate lighting layers rather than one grid.
Check insulation clearances, IC ratings, wet-area requirements and electrical consent before anything is cut into the ceiling.
Table of Contents
The basic rules for spacing downlights
Three numbers drive almost every layout: the distance between fittings, the distance from the wall, and the beam angle.
The BRANZ bulletin on recessed downlights recommends a 60° beam angle for general lighting, and says narrow beams suit highlighting a display piece. It also notes that concentrated or narrow-beam fittings need particular care with spacing when minimum illuminance criteria must be met. In practice, a narrow beam throws a tight pool of light, so you get bright spots and dim gaps unless the fittings sit close together.
A New Zealand lighting retailer’s guide gives typical figures: 1.2 to 1.5 m apart for wider-beam fittings, and about 1 m for concentrated-beam fittings, with consistent spacing across the room. Consistency matters more than any single number. A layout that varies randomly looks patchy even when the average light level is fine.
Another NZ downlight guide describes medium beams of 25 to 45° as a safe default for many rooms, with narrow beams for accents and wider beams for low ceilings or broader coverage.
Working out spacing from ceiling height
The higher the ceiling, the further the light spreads before it reaches the floor, so the fittings can sit further apart. Lower ceilings need closer spacing, because each light covers a smaller circle.
A spacing-to-height ratio (SHR) method turns this into a formula: multiply the fitting’s SHR by the ceiling height. Its worked example uses an SHR of 0.8 and a 2.4 m ceiling, which gives 1.9 m between downlights. It also says to reduce the spacing where higher illuminance is needed. The SHR is a figure on the fitting’s data sheet, so ask your supplier or electrician for it.

For uniform general lighting, ERCO’s lighting guidance says spacing may be up to 1.5 times the luminaire height above the working plane, with the wall distance about half the fitting spacing. The working plane is the height where you do tasks, such as a bench or desk, not the floor. This is why a higher bench needs a slightly tighter layout than a floor-level target.
Here is how those rules translate for common home ceilings:
Situation | Typical spacing | Source basis |
Wide beam, 2.4 m ceiling, general light | 1.2 to 1.5 m | NZ retailer guidance |
Concentrated beam | About 1 m | NZ retailer guidance |
SHR 0.8 fitting, 2.4 m ceiling | 1.9 m (0.8 × 2.4 m) | SHR method |
Ambient spots, residential plan | About 1 m | Philips NZ placement guide |
Kitchen bench or island | 600 to 800 mm | NZ downlight guide |
If the SHR answer and the rule-of-thumb answer differ, go with the tighter one for kitchens and bathrooms, and the wider one for bedrooms and hallways where you can dim the light or add a lamp.
How far from the walls
There are two common approaches, and both are reasonable.
Fixed offset. Keep the outer row at least 500 mm from walls and other fittings, as one NZ downlight guide recommends as a starting rule. Philips New Zealand’s placement guide gives about 60 cm from the wall for ceiling spots.
Half-spacing. For an evenly spaced row, New Zealand Lighting says the first fitting should be half the centre-to-centre spacing from the wall. With 1.2 m between lights, that is 600 mm from the wall. With 1.9 m between lights, it is 950 mm.
The fixed offset suits small rooms and rooms with wardrobes or shelves along the wall, because it lights the wall surface and avoids dark edges. The half-spacing rule suits larger, open rooms where you want an even wash of light and no bright stripe near the wall.

There is a trade-off. Light placed very close to a wall creates scallop-shaped patterns on it. ERCO notes that vertically directed downlights produce these characteristic patterns, and that a uniform ceiling grid is not the only valid arrangement. If you do not want scallops, move the row further out, or use a wall-wash fitting instead.
How many downlights does a room need?
There are two ways to estimate: a quick area-based rule, and a lumen calculation.
The quick estimate
One NZ guide gives a starting point of about one downlight per 1.2 to 1.4 m² for lounges and bedrooms, in evenly spaced rows. It says the final quantity varies with ceiling height, beam angle and fitting brightness.
A lounge of 15 m² therefore starts at roughly 11 to 12 fittings (15 ÷ 1.4 to 15 ÷ 1.2). That is a starting point, not a design. If your fittings are bright or your ceiling is higher, fewer may do the job. If you plan to add lamps and wall lights, you can often use fewer again.
The lumen method
The more careful way is to work from light levels.
Choose a target illuminance in lux for the room.
Multiply the room area in m² by that lux figure to get the total lumens needed.
Divide by the lumen output of the downlight you have chosen.
New Zealand Lighting describes this approach and lists indicative targets for homes:
Space | Indicative target |
Hallway | 70 to 100 lux |
Kitchen, general | 150 to 200 lux |
Kitchen bench | 300 to 400 lux |
Bathroom or laundry | 230 to 300 lux |
Lounge or bedroom | About 200 lux |
Reading | 300 to 400 lux |
These are indicative, and the calculation ignores light lost to the ceiling, walls and ageing fittings. Professionals add allowances for these losses, which is why a calculated number usually rounds up. Treat the result as the minimum, then check it against the spacing rules above so the fittings land in an even grid.
A worked example
Take a 4.5 m × 3.3 m lounge, about 15 m², with a 2.4 m ceiling.
Target of about 200 lux gives 15 × 200 = 3,000 lumens at the working plane.
Allowing for losses, you will need more than that from the fittings, perhaps half as much again, depending on the surfaces in the room.
A 6 by 2 layout is not suitable for a room this shape. Three rows of four, 12 fittings, gives roughly 1.1 m across the narrow side and 1.1 to 1.5 m along the length. That matches the quick estimate and the spacing guidance.
If you chose brighter fittings, you could drop to a 3 by 3 grid of nine and sit around 1.5 m apart. Both layouts are defensible. The better answer is the one that suits the furniture, which is the next step.
Layouts for each room
Kitchens
Kitchens need the most light and the most care. The same NZ downlight guide recommends 600 to 800 mm spacing for downlights over a bench or island, positioned over the working area rather than behind the person using it. That keeps your own shadow off the work surface. Under-cabinet lighting does the same job from the front of the bench.
If you have a pendant over the island, the downlights can play a quieter supporting role. Mark Herring Lighting says decorative pendants over a kitchen island may need quiet support from controlled downlights. Our article on how to create a kitchen lighting plan for NZ homes goes through the layers in detail, and the kitchen island size guide helps you place lights against the island’s footprint.
Living rooms
Resist the urge to cover the ceiling in a regular grid. Mark Herring Lighting’s residential lighting guide advises planning around furniture and work zones, lighting vertical surfaces, and keeping strong sources and reflections out of the TV and normal sofa sightlines. It warns that a regular grid can leave a living room flat and uncomfortable.
A practical approach: place downlights to wash the walls and key features, leave the area over the sofa softer, and use lamps or adjustable lights beside reading chairs. The same guide says adjustable light beside a reading chair is preferable to expecting ceiling downlights to perform every task.
Bedrooms
Bedrooms rarely need bright overhead light. Aim for even, dimmable general light at the lower end of the spacing range, and put bedside lights on their own switches. Avoid placing a downlight directly above the pillow, where it shines into your eyes when you lie down.
Bathrooms and laundries
These need brighter, cooler light and tighter spacing, with fittings placed over the vanity and shower area. Moisture adds rating requirements, covered below. Our guide to bathroom lighting ideas for NZ renovators shows how to plan the positions before walls are lined, and the bathroom plumbing layout guide helps you coordinate the fittings with pipework.
Hallways
Hallways need the least light, around 70 to 100 lux according to the figures above. A single row down the centre with spacing at the wide end of the range usually works. Place a light at each door and at the top and bottom of any stairs.
Colour temperature
Spacing is only half the picture. One NZ guide says warm 2700 to 3000 K generally suits lounges and bedrooms, while 3000 to 4000 K is more suitable for kitchens, bathrooms and offices. Use the same colour temperature through connected open-plan spaces so the light does not shift abruptly between zones.
Avoiding glare, shadows and dark corners
Most bad downlight layouts fail in one of four ways.
Too few lights. Dark corners and a gloomy room.
Too many in the middle. A harsh centre with dim edges. This is a common problem in both directions, and the answer is to spread fittings rather than add more to the centre.
Lights behind the user. Shadows fall across the bench or desk.
Lights in sightlines. Glare on the TV and a bright source in your eyes on the sofa.
The fix is to draw the room first. Philips New Zealand recommends drawing the room at 1:50, marking fixed elements and furniture, then designing layered ambient, task and accent lighting. Do this before the electrician marks the ceiling, and check your plan against where the furniture actually goes.
For highlighting a wall, New Zealand Lighting suggests placing about 600-lumen LEDs about one quarter of the wall height out from the wall, spaced about the same distance apart. For grazing a textured wall, it suggests roughly 300 mm from the wall and 450 mm between fittings. These are special-purpose positions, so keep them on a separate switch from your general lighting.
Finally, put the layers on separate circuits or controls. Mark Herring Lighting recommends separate controls for ambient, accent and decorative layers, so you can dim the room to suit the activity.
Downlights or pendant lights?
They do different jobs, and most good rooms use both.
Downlights give general, unobtrusive light and suit low ceilings, hallways and kitchens. Pendants give a focal point and local light, and suit dining tables, islands and high ceilings. Mark Herring Lighting says to place dining light in relation to the table, and that a dimmable pendant or a focused downlight can make it inviting. It also says comfortable homes normally combine ambient, task and accent or decorative layers, with at least two useful layers in simple rooms and three or more in important living spaces.
A simple rule: if you can only have one type, choose downlights for rooms where you work, and a pendant for rooms where you gather. If you can have both, let the downlights carry the general light on a dimmer and let the pendant set the mood.
New Zealand safety and compliance checks
Spacing is a design question. These points are about safety and the Building Code, and they should be settled before the ceiling is cut.
Insulation clearance. The Ministry of Business, Innovation and Employment (MBIE) says older incandescent or halogen downlights run hot and need a 100 mm safety gap from insulation. Modern IC- or IC-F-rated LED downlights can be covered by insulation when the insulation is rated for temperatures up to 90°C. The same page notes that older downlights can reduce ceiling insulation effectiveness by creating openings to the roof space, which lets heated air escape. If your home has old halogen fittings, replacing them with correctly rated LEDs is often part of a renovation.
Minimum lighting. Building Code clause G8 requires adequate artificial lighting for safe movement and sets a minimum illuminance of 20 lux at floor level, as MBIE explains. This is a safety floor, far below the comfort targets in the table above.
Installation standard. NZECP 54 covers the electrical and physical installation requirements for recessed luminaires and auxiliary equipment in residential, commercial and industrial buildings. Your registered electrician works to it.
Wet areas. Fittings in bathrooms and similar spaces need a suitable IP rating for their zone, and the circuits need appropriate protection. Our guide to RCD requirements in NZ explains the protection side.
Consent and who does the work. Fixed wiring must be done by a registered electrician. Whether a job needs consent depends on its scope, and our article on electrical consent in NZ explains what you need and when. If you are also insulating, read about the 20 mm gap when retrofitting walls so the lighting and insulation plans do not conflict.
Planning lighting as part of a renovation
Lighting is cheapest to get right when the ceiling and walls are already open. Positions are set by the electrician, the plasterer and the painter in a sequence, and changing a downlight position after plastering means patching and repainting.
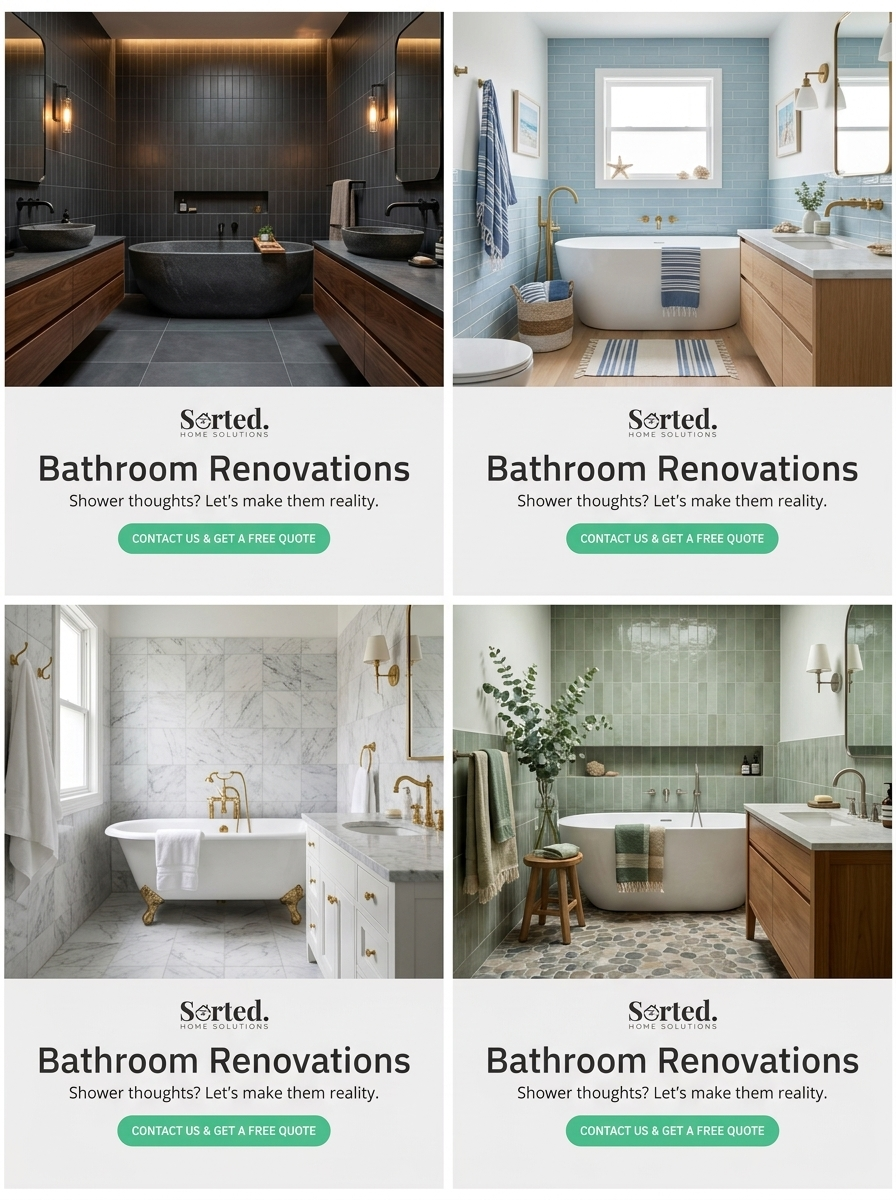
We manage that sequence as one team, with a single point of contact, for kitchens, bathrooms and full home renovations in Auckland. If you are planning a new kitchen, see our kitchen packages and kitchen renovation examples. For wet areas, look at our bathroom renovations. We coordinate the licensed trades and the building consent process, so lighting plans are settled before work starts.
If you are replacing old halogen fittings, a fixture swap may be all you need. Our small jobs and fixture services cover vanity and fixture swaps and touch-up painting. For larger projects, including a whole-house update, see our full home renovation service.
Our perspective
We see the same lighting problems in Auckland homes again and again. The ceiling is lined, the downlights go in on a neat grid, and only after the kitchen is installed does anyone notice that the bench is in shadow, or that the pendant and the downlights are fighting each other. Our view is that lighting belongs on the plan at the same time as the cabinetry and the plumbing, not after. When one team manages every trade, the electrician knows where the island sits, the plasterer knows where the penetrations go, and the painter finishes only once. That is how we work: all trades, one team, one point of contact. We would rather you spend an hour with a floor plan and a pencil before the ceiling is opened than a week of patching afterwards. Mark out furniture, decide which activities need light, and choose fittings with the right beam angle and IC rating. Then let your electrician confirm the spacing against the fittings you have actually chosen. Our fixed-fee quotes cover the scope we agree with you, so the lighting plan becomes part of the brief and not an afterthought. Rudi
FAQ
How far apart should downlights be in a room with a standard ceiling?
For a 2.4 m ceiling with wide-beam fittings, 1.2 to 1.5 m apart is a common range, and about 1 m for concentrated beams. Keep the first row around 500 to 600 mm from the wall. Tighten the spacing over benches and desks.
How many downlights do I need in a living room?
A common starting point is one downlight per 1.2 to 1.4 m², in even rows, so a 15 m² lounge begins at around 11 to 12 fittings. Adjust for ceiling height, beam angle and brightness. If you add lamps and wall lights, you may need fewer.
Can I put downlights in a ceiling with insulation?
Only if the fittings are rated for it. MBIE says modern IC- or IC-F-rated LED downlights can be covered by insulation rated up to 90°C, while older halogen fittings need a 100 mm gap. Ask your electrician to confirm the rating of the fittings you buy.
Should I use downlights or pendant lights in my kitchen?
Use both where you can. Downlights give general and task light, and pendants add a focal point over an island or table. Place downlights over the work area, and put them on a dimmer so they support the pendant without competing with it.
Do I need consent to add downlights?
The fixed wiring must be done by a registered electrician, and whether consent is needed depends on the scope of the work. Your electrician or builder can confirm this before work starts. Our electrical consent article explains the usual triggers.
Sources
Recommended
Comments