

How to create a kitchen lighting plan for NZ homes

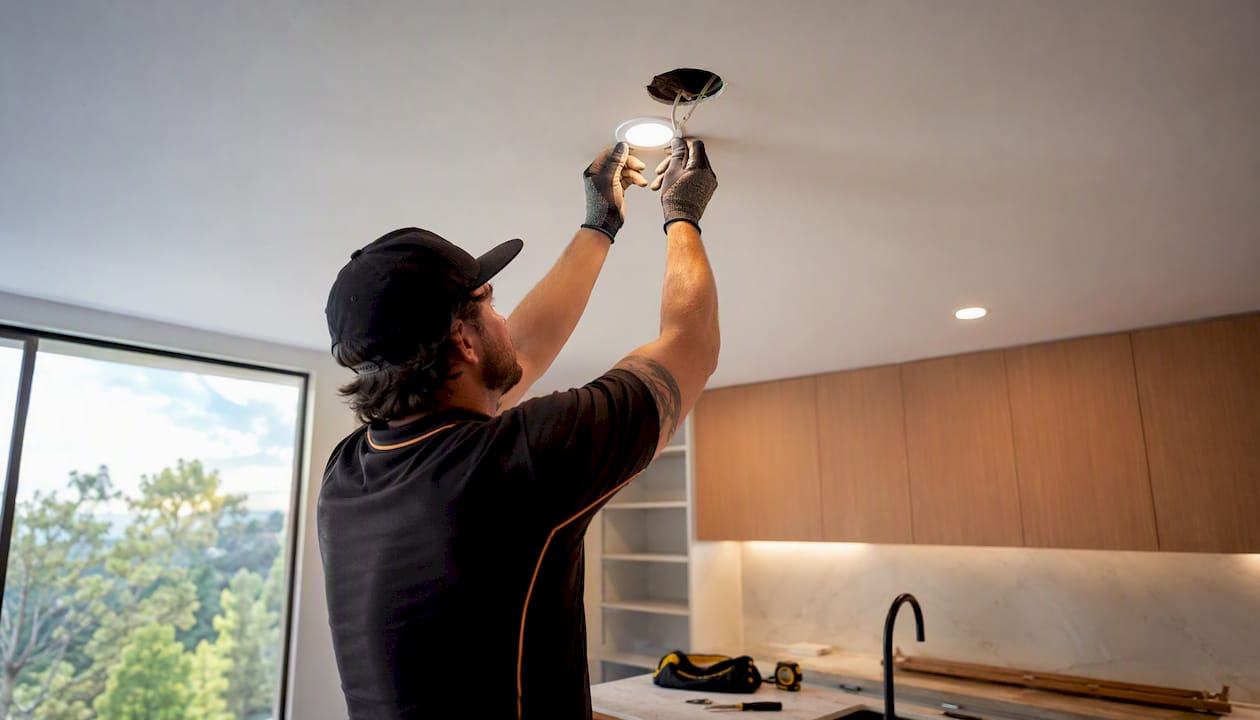
A layered kitchen lighting plan — combining ambient, task, and accent lighting mapped to your measured task zones and checked against New Zealand Building Code Clause G8 — is the most direct path to a kitchen that is both safe and well-designed. AS/NZS 1680 adds the task-level guidance that Clause G8’s 20 lux floor benchmark does not cover on its own. Sortedhomesolutions coordinates all of this within a single managed renovation, so nothing falls through the cracks between trades.
Here is the three-step action plan:
Sketch and measure your kitchen to scale, marking task zones (sink, hob, prep benchtop, island) and ceiling obstructions.
Place task lights first — under-cabinet LED strips, directional downlights, or pendants over the island — then layer in ambient and accent fittings.
Add controls and verify — separate switch circuits by layer, fit LED-compatible dimmers, and have a licenced electrician install and verify the completed work.
Key takeaways
A layered kitchen lighting plan — ambient, task, and accent on separate circuits — mapped to measured task zones and checked against Clause G8 and AS/NZS 1680, is the foundation of a safe, well-designed NZ kitchen.
Point | Details |
Start with a scaled sketch | Measure ceiling height, task zones, and obstructions before selecting any fittings. |
Task lighting comes first | Place under-cabinet strips, directional downlights, or pendants over work zones before deciding ambient spacing. |
Match kelvin across all fittings | Keep a single colour temperature (2700K–4000K) throughout the kitchen to avoid mismatched whites. |
Clause G8 sets 20 lux minimum | The floor-level benchmark is a movement-safety threshold; task areas need significantly higher illuminance per AS/NZS 1680. |
Sortedhomesolutions manages it end-to-end | Lighting planning, electrical coordination, and installation oversight are included in kitchen renovation packages. |
Table of Contents
How do you choose the right fittings for each lighting layer?
What are the spacing and placement rules for kitchen fittings?
What safety checks apply to kitchen lighting in New Zealand?
What does kitchen lighting cost and how long does installation take?
How Sortedhomesolutions integrates lighting into full kitchen renovations
Why lighting planning is the step most renovations get wrong
Sortedhomesolutions kitchen renovation packages include lighting planning
How do you plan a kitchen lighting layout from scratch?
Start with measurements, not fittings. Record ceiling height, window positions, benchtop run lengths, island dimensions, and appliance locations. A kitchen with a 2.4 m ceiling behaves very differently from one at 2.7 m, and that gap changes both downlight spacing and pendant drop heights.
Once you have the numbers, draw a top-down sketch to scale. A simple grid on paper works fine; so does a free floor-planner app. Mark every task zone clearly: sink, hob, main prep run, island, dining or bench seating, and walkways. These zones are where task lighting decisions get made first.
Record ceiling obstructions next. Extractor duct positions, ceiling joists, and cabinet overhangs all affect where you can place fittings and whether a light will cast a shadow over a work surface. Note electrical access points and likely switch locations at this stage too, because moving them later adds cost.
Bunnings New Zealand recommends mapping task zones before selecting any fittings and using under-cabinet LED strips above benchtops to reduce shadows. The sequence matters: task lighting first, ambient spacing second, accent and controls third. Fittings planned before cabinets are fitted are significantly easier and cheaper to install than retrofits — running cable routes while walls are open saves time and avoids costly chasing later.
Pro Tip: Photograph the kitchen from the positions where you normally stand to cook, wash up, and prep. Annotate the photos with where shadows fall at different times of day. Those images will help you and your electrician spot blind spots before a single fitting is ordered.
What is layered lighting and how does it work in a kitchen?
Layered lighting means using three distinct types of light — ambient, task, and accent — each serving a different purpose and controlled independently. A single ceiling fitting cannot do all three jobs well, which is why kitchens lit by one central downlight always feel flat and often unsafe.
Ambient lighting provides general, even coverage across the room. Recessed downlights and ceiling fittings are the standard choice. Their job is to make the room navigable and comfortable, not to illuminate a chopping board.
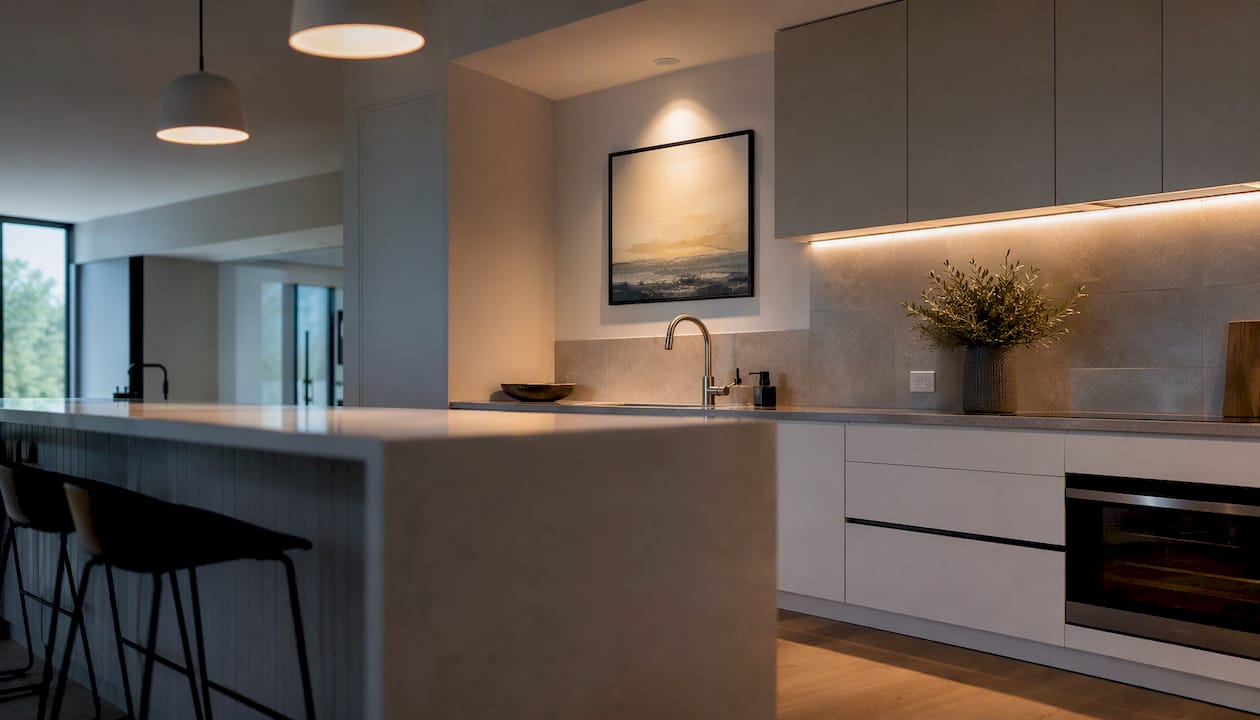
Task lighting targets specific work surfaces where you need shadow-free, focused light. Under-cabinet LED strips deliver continuous, even light along a benchtop run. Directional downlights positioned directly above a prep zone or sink work well where under-cabinet strips are not possible. Pendants over an island serve both task and visual purposes, provided they are hung at the right height.
Accent lighting adds depth and atmosphere. In-cabinet strip lighting, toe-kick LEDs, and pendant uplighting in display niches all fall into this layer. Accent lighting is not safety-critical, but it is what separates a functional kitchen from one that looks considered.
How the mix shifts by layout:
Galley kitchen: ambient downlights along the ceiling centre line; under-cabinet strips on both runs; minimal accent unless there is a display shelf or open cabinetry.
Island kitchen: ambient downlights for general coverage; pendants over the island for task and visual interest; under-cabinet strips on the perimeter benchtops; toe-kick or in-cabinet accent where finishes warrant it.
Open-plan kitchen: the kitchen zone needs its own ambient circuit separate from the living area; task lighting stays focused on work zones; accent lighting helps define the kitchen visually within the larger space.
A layered approach gives you independent control over mood and function — something a single-circuit kitchen simply cannot offer.
What illuminance levels does NZ law require for kitchens?
Clause G8 of the New Zealand Building Code sets a performance requirement: illuminance at floor level shall be no less than 20 lux, measured on a horizontal plane at floor level. This is the legal minimum for safe movement through a space.
The 20 lux floor benchmark is a movement-safety threshold, not a cooking standard. AS/NZS 1680 provides the task-level guidance that fills this gap, setting out principles for illuminance levels, daylight interplay, and avoiding visual discomfort in interior spaces where detailed work occurs. For kitchen task areas, the practical design target is considerably above the Clause G8 floor minimum.
Acceptable verification methods for Clause G8 compliance include wattage-per-square-metre calculations and direct illuminance measurement, as described in the acceptable solutions and verification methods guidance. When formal compliance verification is required — for example, during a building consent process — measurement using the procedures in NZS 6703 Section 11 is the appropriate method.
Lighting purpose | Practical design target | NZ reference |
Safe movement (floor level) | 20 lux minimum | Clause G8 |
General kitchen ambient | 150–300 lux (task plane) | AS/NZS 1680 guidance |
Benchtop prep and cooking | 300–500 lux (task plane) | AS/NZS 1680 guidance |
Fine detail tasks | 500+ lux (task plane) | AS/NZS 1680 guidance |
Older users often need higher illuminance and stronger contrast at task level. Designing adjustable scenes or specifying higher-output task fittings from the outset is a practical way to future-proof a kitchen for changing visual needs.
How do you choose the right fittings for each lighting layer?
Fixture selection comes down to four technical axes: luminous flux (lumens), beam angle, colour temperature (kelvin), and Colour Rendering Index (CRI). Getting these right matters more than fixture style.
Colour temperature
NZ lighting professionals recommend a colour temperature range of 2700K–4000K for kitchens. Warmer whites (2700K–3000K) suit entertaining zones and open-plan spaces where the kitchen connects to a living area. Neutral whites (3500K–4000K) work better for task areas where accurate colour perception matters. The key rule: keep a single kelvin value across all fittings in the kitchen. Mismatched whites are one of the most common signs of poor planning and are immediately obvious once the lights are on.
CRI and colour rendering
High CRI fittings render food colours, timber finishes, and stone benchtops accurately. For kitchen task areas, aim for CRI 90 or above. Lower CRI fittings can make fresh produce look dull and make it harder to judge whether meat is cooked correctly.
Fitting types and their roles
Recessed downlights: standard choice for ambient coverage; fixed or adjustable trim options; check beam angle (60° for wide ambient wash, 24–36° for directional task use).
Adjustable downlights: useful on raked or angled ceilings where a fixed fitting would throw light at the wrong angle.
Under-cabinet LED strips: the most effective kitchen task lighting option for continuous benchtop runs; choose a diffused strip to avoid hot-spot reflections on glossy surfaces.
Pendants over islands: combine task function with visual interest; spacing and drop height are critical (see the placement section below).
In-cabinet and toe-kick strips: accent layer; warm white (2700K) works well here to separate the accent layer visually from task zones.
Technical checks before ordering: confirm LED driver compatibility with your dimmer, verify the IP rating is appropriate for the fitting’s location, and check that diffuser types suit the surface finish below the fitting.
Pro Tip: Order a single sample fitting and run it in the kitchen for a few days before committing to a full order. Colour temperature reads differently on your specific benchtop, cabinetry, and wall colour than it does in a showroom.
What are the spacing and placement rules for kitchen fittings?
Placement errors are harder to fix than selection errors. Getting spacing right on paper before any holes are cut saves significant rework.
Downlight spacing
A practical rule of thumb for standard 2.4 m ceilings is to space recessed downlights 1.2–1.5 m apart. Higher ceilings allow slightly wider spacing; lower ceilings may need tighter spacing to maintain even coverage. Position downlights so they wash the benchtop surface rather than only lighting the floor. A downlight placed directly above the front edge of an upper cabinet will throw light onto the benchtop below; one placed too far back will light the cabinet face and leave the work surface dim.
Pendant heights and island spacing
Hang pendants 700–800 mm above the benchtop surface. For an island with seating, measure from the finished floor to the top of the seating surface and work up from there. Space multiple pendants evenly across the island length, and centre them relative to the island’s long axis rather than the room’s centre line. Three pendants over a 1.8 m island typically look more balanced than two.
Under-cabinet strips
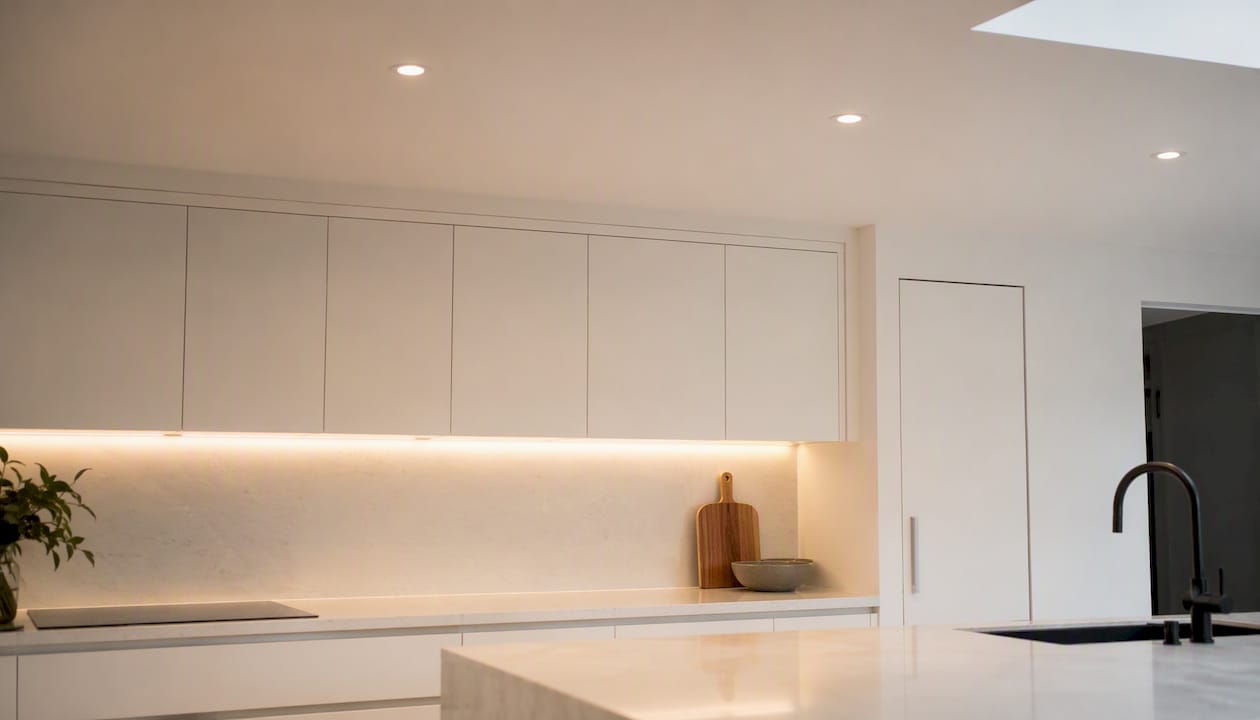
Mount strips near the front edge of the cabinet underside, not pushed back against the wall. A strip mounted at the rear of a cabinet underside throws light onto the splashback rather than the work surface. Run continuous strips for uninterrupted coverage; gaps between strip segments create uneven pools of light that are particularly obvious on glossy benchtops. Use a diffused channel profile to eliminate hot-spot reflections.
Pro Tip: Mark all spacing decisions on your sketch using centre lines and benchtop edge measurements before any drilling. A site mock-up using a portable LED strip taped to the underside of an upper cabinet will confirm strip placement before installation.
Fitting type | Practical spacing / height rule |
Recessed downlights (2.4 m ceiling) | 1.2–1.5 m apart; position over benchtop front edge |
Pendants over island | 700–800 mm above benchtop; evenly spaced along island length |
Under-cabinet LED strips | Mounted near front edge of cabinet underside; continuous run |
Avoiding shadows
Place task lights in front of the user’s working position where possible. A downlight directly above and behind a person standing at a benchtop will cast their shadow onto the work surface. Under-cabinet strips solve this problem on benchtop runs because the light source is between the user and the surface.
How should you wire and control each lighting zone?
The value of a layered lighting plan depends entirely on being able to control each layer independently. A single switch for the whole kitchen collapses all three layers into one undifferentiated circuit.
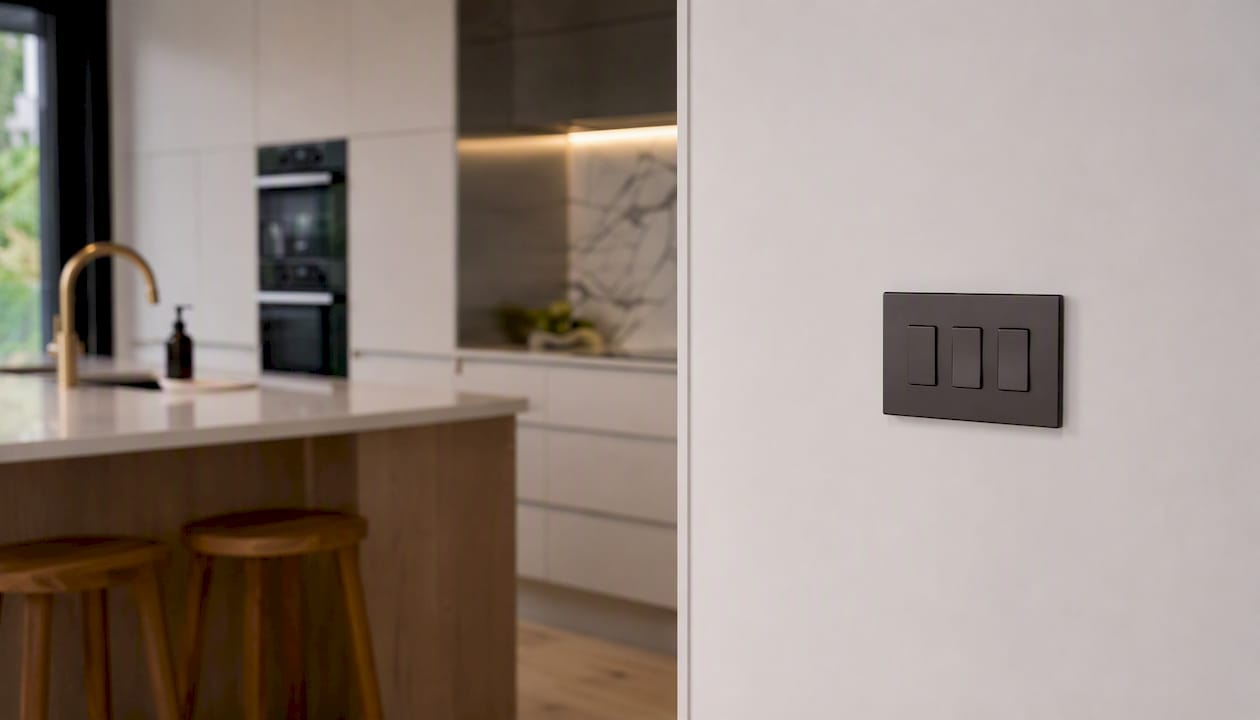
Zone the switches by layer: task, ambient, and accent should each have their own circuit and switch. This lets you run full task and ambient light during prep, drop the ambient and keep accent on during a dinner party, or use ambient only for a quick late-night trip to the kitchen.
Fit dimmers on ambient and accent circuits. LED-compatible dimmers are not interchangeable with older trailing-edge or leading-edge dimmers designed for incandescent globes — check the dimmer’s compatibility list against your specific LED driver before purchasing. Under-cabinet strip circuits can be switched rather than dimmed if the driver does not support dimming, though a dimmable driver is worth specifying at the outset.
Smart lighting scenes add practical value in a kitchen. Useful presets include:
Prep: task and ambient at full output.
Cooking: task at full, ambient at 50–60%.
Entertaining: accent on, ambient dimmed to 20–30%, task off or at minimum.
Night: ambient only at 10–15% for safe movement without full brightness.
Smart control modules must be rated for New Zealand mains voltage (230V, 50Hz). Check that any smart dimmer or relay module carries the relevant NZ/Australian electrical approval marking before installation.
Pro Tip: Label every circuit in the switchboard clearly at the time of installation. A kitchen with five lighting circuits that are all labelled “kitchen lights” creates real problems during any future maintenance or fault-finding.
What safety checks apply to kitchen lighting in New Zealand?
Kitchen lighting carries specific safety obligations in New Zealand, and most of them are not optional.
IP ratings near wet zones: Fittings installed within a defined zone around a sink or above a hob where steam is present should carry an appropriate IP (Ingress Protection) rating. An IP44 rating indicates protection against water splashing from any direction — a reasonable minimum for fittings near a sink. Mako Electrical’s NZ guidance specifically recommends IP-rated fittings near wet zones and waterproofing measures for kitchen and bathroom installations.
Licenced electrician requirement: All fixed electrical wiring work in New Zealand must be carried out by a licenced electrician. This includes new circuits, moving existing circuits, installing dimmers, and connecting any hardwired fitting. This is a legal requirement, not a recommendation.
Building consent: Significant electrical work — particularly new circuits, switchboard upgrades, or work that changes the building’s electrical installation — may require a building consent and subsequent Code Compliance Certificate. Your electrician can advise on whether consent is required for your specific scope. A switchboard upgrade is sometimes necessary when adding multiple new lighting circuits to an older home.
Safety checklist before sign-off:
Fuse and circuit protection checked and rated correctly for new circuits.
All fittings positioned clear of extractor duct outlets and heat sources.
No fittings installed closer to combustible surfaces than the manufacturer’s minimum clearance.
IP-rated fittings confirmed in all wet-zone locations.
Clause G8 floor-level illuminance verified where formal compliance is required.
What does kitchen lighting cost and how long does installation take?
Cost and timeline vary significantly depending on scope, but understanding the main drivers helps you budget realistically.
Fixture quality and quantity are the largest variables in product cost. Budget LED downlights from Bunnings New Zealand start at a low price point; specified architectural fittings from a lighting specialist can cost several times more per unit. The number of fittings multiplies quickly across a full kitchen.
New wiring versus existing circuits is the biggest labour variable. A simple retrofit into an existing circuit takes far less electrician time than running new circuits from the switchboard. Older Auckland homes frequently need additional circuits or a switchboard upgrade to support a full layered lighting scheme.
Control systems add cost. A basic dimmer switch costs relatively little; a smart lighting hub with scene control and app integration adds meaningful cost in both product and programming time.
Cabinet and bench prep for under-cabinet strip runs adds joinery time if the cabinets are already installed. Planning strip lighting before cabinet installation, as Flow Joinery notes, avoids this cost entirely.
Contingency for older homes is worth building in. Wiring surprises in pre-1980s Auckland homes are common, and a 10–15% contingency on the electrical budget is a practical buffer.
For timeline: a simple retrofit of existing fittings with a licenced electrician typically takes one day on site. A full new-wiring fit-out during a kitchen renovation adds one to three days of electrical work within a broader multi-week renovation schedule. The electrical rough-in should happen before cabinetry is installed — coordinating this sequence is one of the practical advantages of a single-team renovation approach. For broader cost context, the kitchen and bathroom remodel cost guide covers how lighting fits within a full renovation budget.
How Sortedhomesolutions integrates lighting into full kitchen renovations
Sortedhomesolutions manages kitchen lighting as part of its end-to-end renovation process, not as an afterthought. The lighting plan is confirmed during the design stage, electrical rough-in is scheduled before cabinetry arrives, and the licenced electrician returns for fit-off once cabinets and benchtops are in place.
The practical benefits of this approach:
One project manager coordinates the electrician, cabinet installer, and tiler — so pendant heights are confirmed against the finished benchtop level, not estimated.
Under-cabinet strip runs and in-cabinet accent lighting are planned into the joinery drawings, which means no retrofitting and no visible cable chasing.
Dimmer compatibility and IP ratings are checked against the specified fittings before ordering, not on installation day.
Clause G8 compliance and any consent requirements are managed as part of the project scope.
The kitchen gallery shows finished projects where lighting was coordinated with cabinetry, splashback, and benchtop finishes. The pricing guide sets out what is included in each package. For homeowners who want lighting planning included from the start, requesting a quote with lighting scope specified is the most direct next step.
Why lighting planning is the step most renovations get wrong
Most kitchen lighting mistakes are not made during installation. They are made weeks or months earlier, when lighting is treated as a finish rather than a structural decision.
The most common errors seen on site: a single central downlight that leaves every benchtop in shadow; mismatched kelvin values across fittings that make the kitchen look unfinished even with quality cabinetry; and under-cabinet strips added as a late-stage request after cabinets are already fixed, which means visible cable runs and compromised placement.
The other consistent pattern is late-stage wiring changes. Moving a switch location or adding a circuit after plastering and painting has been completed adds real cost and disruption. In Auckland renovations, this is one of the most avoidable budget blowouts.
Plan lighting at the same time as cabinetry. Confirm kelvin before ordering any fitting. And separate your circuits by layer from the start — it costs very little extra at the wiring stage and makes the kitchen genuinely usable for years.
Sortedhomesolutions kitchen renovation packages include lighting planning
Sortedhomesolutions’ kitchen renovation packages cover lighting planning, electrical coordination, and installation oversight as part of the full project scope. You get one team managing the electrician, the cabinet installer, and every other trade — so your lighting decisions are built into the plan from day one, not bolted on at the end.
The pricing guide outlines what each package includes, and the kitchen gallery shows finished projects where lighting was integrated with cabinetry and finishes. For homeowners who want LED efficiency built into the renovation from the start, the energy efficiency guide covers how LED choices affect long-term running costs.
To get a quote with lighting scope included, contact Sortedhomesolutions and request a site visit. The team will confirm your task zones, ceiling conditions, and control preferences before any fittings are specified.
Sources
These are the primary references to consult or share with your electrician when planning and verifying a kitchen lighting design.
Recommended
Comments