

Avoid Rework: 3 Stage Renovation Checklist, Room by Room, NZ Pro Tips

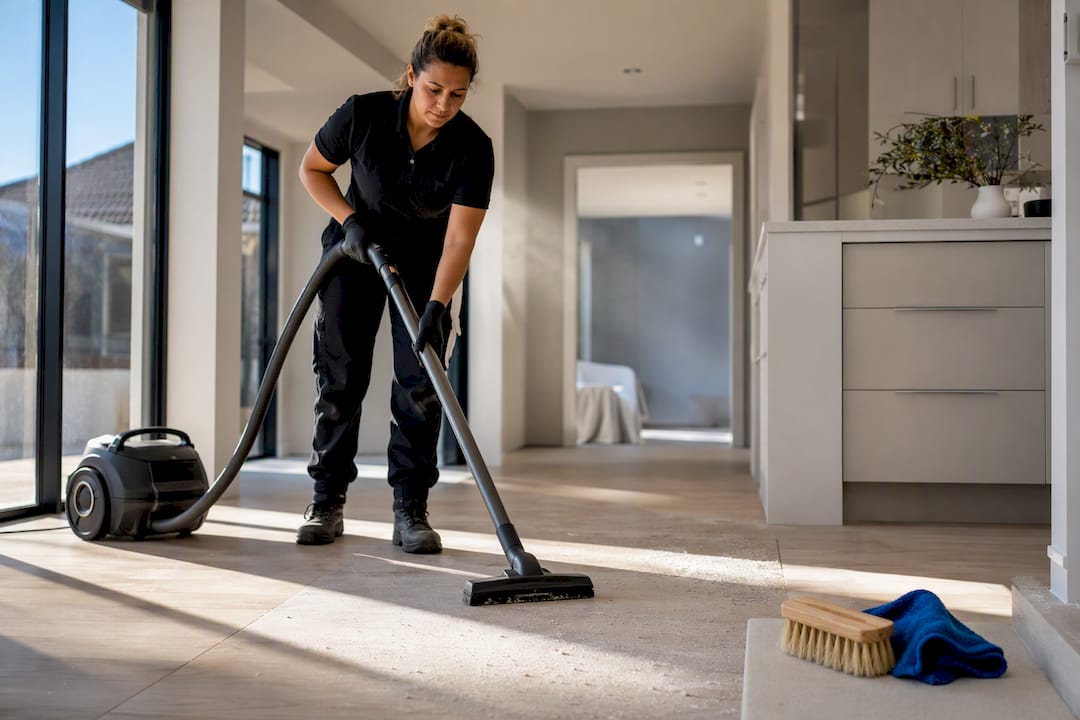
Clearing a renovation site properly means four things in this order: strip out debris, dust top to bottom, run a rough clean, detail clean, and sparkle clean, then finish with HEPA vacuuming and a check of vents and filters. The detail clean only starts once every trade has left site, and grout needs time to cure before you touch it with cleaning product. Get the sequence wrong and you risk redoing work, or damaging finishes that were installed days earlier.
TL;DR:
A thorough renovation cleanup requires sequencing: debris removal, dusting, rough clean, detail clean after trades leave, and a final sparkle clean with HEPA vacuuming.
Ventilation, protective coverings, and safety gear are crucial to handle construction dust, solvents, and hazardous waste properly during cleanup.
Professional cleaners follow a three-stage process and recommend booking early, about one to four weeks before project completion, especially for heavy dust or delicate surfaces.
Contractually, cleaning should be clearly defined, signed off room-by-room, and linked to practical completion to prevent disputes over scope or responsibility.
DIY cleaning cannot match industrial HEPA equipment for dust load, making professional services essential for challenging tasks like grout haze, fine dust, or embedded residues.
Table of Contents
What goes on your renovation cleanup checklist first?
Before you touch a mop, clear the site of anything that could hurt someone or get in the way.
Remove large debris, offcuts, and packaging, and bag loose waste for council or skip collection.
Dust from the ceiling down: light fittings, cornices, walls, then furniture and skirting boards, saving floors for last.
HEPA-vacuum first, then follow with a wet clean once dust has settled.
Peel back protective film on benchtops, windows, and joinery, and lift adhesive residue with a proper solvent rather than a scraper alone.
Seal off or move soft furnishings, and open windows to ventilate the house while dust is airborne.
Pro Tip: Do your final vacuum-and-mop pass dead last, after every other task. Cleaning floors early just means you’re walking dust straight back onto them for the next two days.
How do you stay safe during renovation cleanup?
Construction dust is not just a nuisance. Fine plaster and drywall particles, along with residual solvents from adhesives and sealants, are a genuine respiratory hazard if you’re clearing a room without protection.
Wear a P2 or N95 respirator for any heavy dusting, sanding residue, or plaster removal.
Add gloves and eye protection when handling solvents, adhesive removers, or leftover paint.
Segregate sharp waste (offcuts, nails, screws) and hazardous items (paint tins, solvent containers) separately, and check your local council’s rules before disposal.
Leave forced-air heating or cooling off until the bulk of dust is cleared. Running it early just spreads fine particles through every duct in the house.
Cover or relocate finished furniture, and pad anything delicate before cleaning starts nearby.
New Zealand’s construction-related legislation treats cleaning carried out during a build as part of the construction activity itself, not a separate afterthought. That matters when you’re deciding who is responsible for what, and when.
What are the three stages of a builders clean?
Professional renovation cleaners typically stage the work into three distinct passes, and skipping a stage is the fastest way to end up redoing it.
Rough clean. This is bulk waste removal. Bags of packaging, offcuts, and loose rubble come out, and the site gets made safe enough for finishing trades to move through it without tripping hazards.
Detail clean. Deep HEPA vacuuming of every surface, adhesive and paint-spot removal, and joinery detailing. This stage should not begin until the last trade has left the site permanently, because starting early means redoing the work once the final sparky or plasterer tracks through again.
Sparkle clean. The final polish, done once airborne dust has resettled, usually 24 to 48 hours after the detail clean on larger jobs. This is what you present at handover.
Pro Tip: Book your cleaning team around project milestones, not a fixed calendar date. If there’s a longer than expected gap between detail and sparkle, budget for a second HEPA pass, since dust from a nearby room can resettle on “finished” surfaces.
Room-by-room checklist: what to check before you sign off
A stage-by-stage clean is only half the job. Missing a specific room task is what usually shows up in a handover walkthrough.
Kitchen. Peel off protective film from benchtops and cabinetry, clean inside every cupboard and drawer (sawdust settles in the smallest gaps), wipe adhesive residue from splashbacks, and pull the rangehood filter for a proper clean rather than a quick wipe.
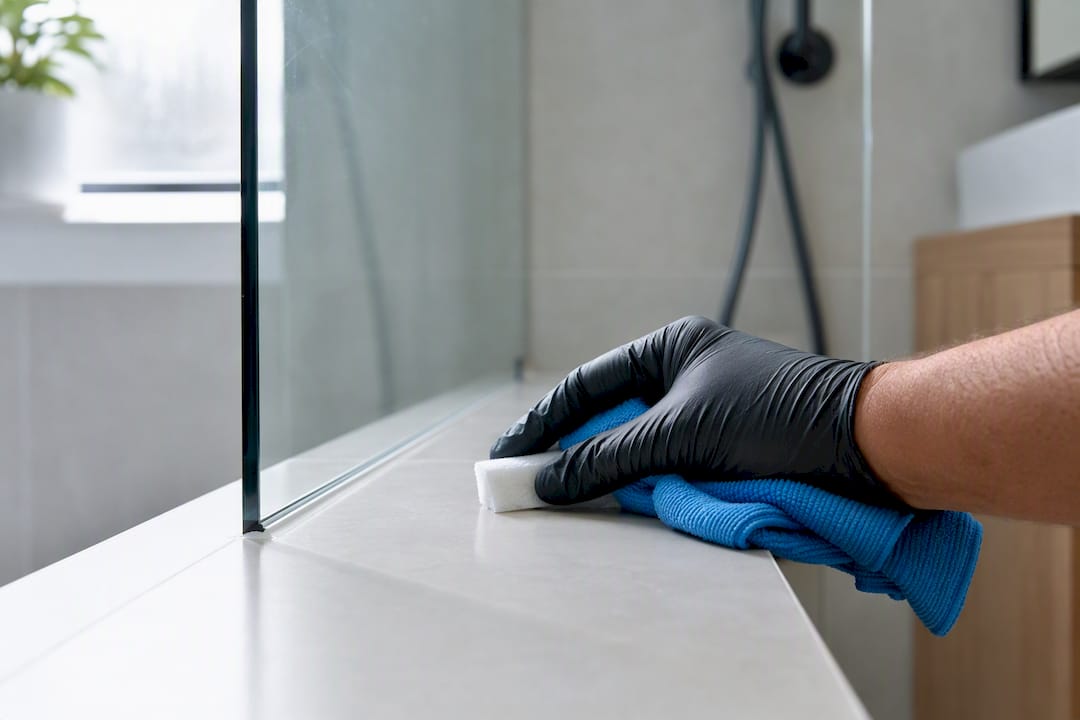
Bathroom. Wait out the full 24 to 48 hour grout cure before attempting haze removal, since the wrong product or timing can permanently mark new tiling. Remove silicone smears around the vanity and shower screen, then polish tapware and mirrors last so you’re not re-smudging them.
Living areas and bedrooms. Vacuum ceiling fan blades before dusting settles below them again, clean window tracks and blinds slat by slat, and get inside wardrobes and shelving, not just the visible faces. Soft furnishings that have caught fine dust often need a specialist steam clean or professional carpet clean rather than a home vacuum.
Floors. HEPA-vacuum hard floors before mopping. New timber floors need low-abrasion, timber-safe cleaning products; the wrong chemical on new grout or timber finishes can cause permanent damage, so check the product is rated for the surface before you use it.
Windows and vents. Scrape off paint spots carefully, clean tracks and sills, then HEPA-vacuum every vent and register. Replace air filters where the renovation has pushed dust through the ductwork, since a clogged filter after a reno is common and easy to miss.
What tools actually get renovation dust out?
A domestic vacuum without a HEPA filter just recirculates fine dust back into the room. That’s the single biggest gap between a DIY clean and a professional one.
A HEPA-rated vacuum with brush and crevice attachments for skirting, vents, and joinery gaps.
Microfibre cloths and soft-bristle brushes for surfaces that scratch easily, like new benchtops and glass.
A razor scraper for glazing only, used flat and with care, plus a benchtop-safe adhesive remover rather than a general solvent.
Grout-haze cleaner, applied only after the cure window has passed.
Floor cleaners matched to the surface. Timber, tile, and stone all need different products, and a low-abrasion polish protects new finishes rather than dulling them.
For jobs with heavy dust load or fine residue embedded in carpet, industrial HEPA equipment and, occasionally, air-scrubbing gear rented by a specialist cleaner will outperform anything available for hire at a hardware store.
What should your contract say about cleaning and handover?
Cleaning scope gets left vague more often than any other line item in a renovation contract, and that’s exactly where disputes start.
Spell out which cleaning stages (rough, detail, sparkle) are included, and which are excluded, in the contract itself.
State the timing: detail and sparkle cleans happen relative to practical completion, not a fixed date.
Use retentions and a signed, room-by-room handover checklist to keep leverage if defects show up after you move back in.
Require documented evidence that vents and filters were cleaned, and that grout haze and adhesive residue were removed where relevant.
Construction agreements in New Zealand should specify practical completion and defects liability clearly, with cleaning scope named in the special conditions rather than assumed. A signed handover checklist protects both you and the builder if something’s disputed later.
When should you call in a professional cleaner?
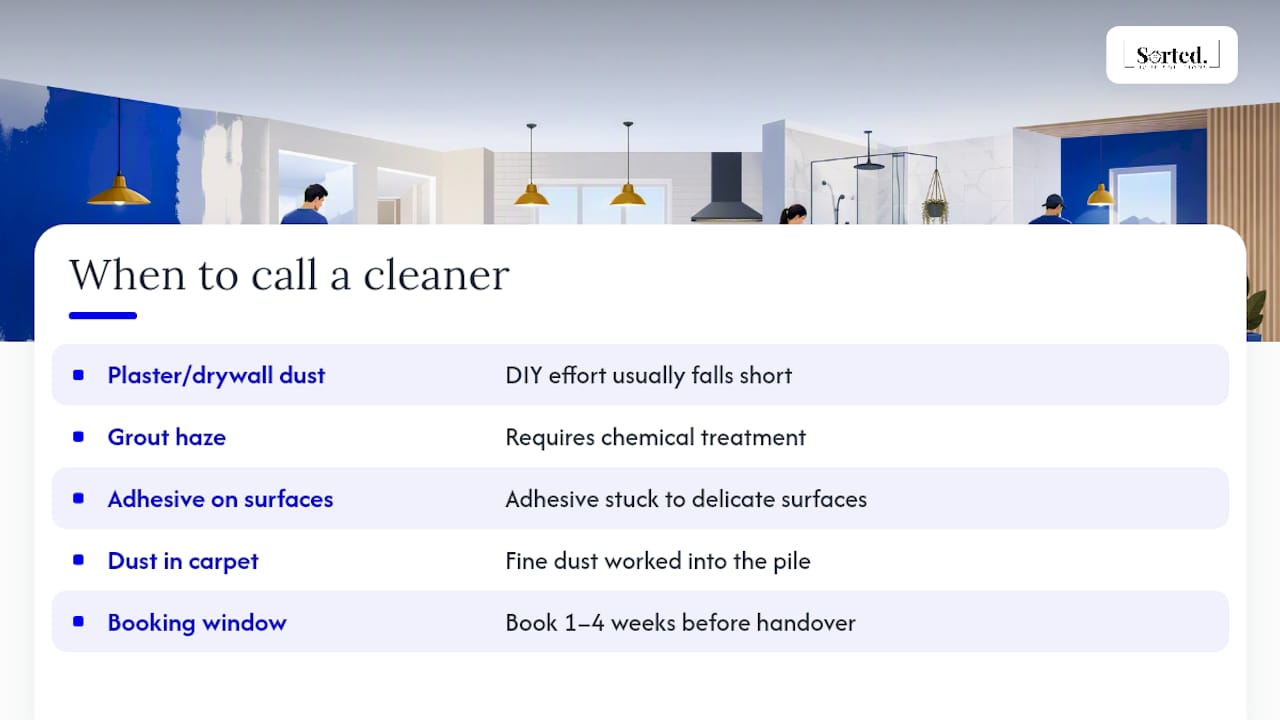
Heavy plaster or drywall dust, grout haze, adhesive stuck to delicate surfaces, or carpet with fine dust worked into the pile are the four situations where DIY effort usually falls short. Professional builders cleaners bring industrial HEPA vacuuming, chemical treatments matched to adhesives and grout haze, and a documented room-by-room checklist you sign off against. Book a professional team one to four weeks ahead of your expected handover date, scaling with the size of the job, since good crews get booked out around common completion windows.
Sorted Home Solutions on getting dust control right from day one
Dust control that starts on day one of the build means far less to clean up at the end. Sorted Home Solutions runs containment steps from the first day on site, managed through a single point of contact across every trade, which avoids the usual back-and-forth over who’s responsible for what mess. Sequencing cleaning into the build programme rather than bolting it on at the end cuts rework substantially. Homeowners agreeing handover standards with a contractor can work through Sorted Home Solutions’ renovation checklist to set expectations before the final walkthrough.
The one spot almost everyone forgets
Plan the clean into the build from week one, not the final week. Booking a specialist cleaner early, before every trade is finished, is what actually prevents the last-minute scramble.
Window tracks are the spot that gets missed on nearly every job I’ve reviewed. Everything else gets wiped, and the tracks sit there full of fine grit until someone opens a window three weeks later and wonders where the grinding noise is coming from.
— Rudi
Book a fixed-fee finish with Sorted Home Solutions
Chasing down separate cleaners, trades, and a checklist yourself adds another layer of coordination to a project that’s already stretched you thin. A business running a full renovation can offer the entire project under a single fixed-fee contract with one point of contact managing every trade to handover.

Whether you need a full home renovation, a flood restoration, or just touch-up painting and patch repairs before you list or move back in, the scope and standard get agreed upfront rather than argued over at the end. Check current packages on the pricing page and request a free walkthrough or quote to see what a managed, handover-ready finish looks like for your project.
Sources
For contract detail, see construction agreements in New Zealand. For surface care on finished joinery, cleaning advice for interior doors is a useful companion guide.
FAQ
What is the 5-5-5 rule for cleaning?
The rule mentioned isn’t a standard renovation cleaning framework, so definitions of it vary depending on where you’ve seen it used. If you’re after a proven sequence, stick to the rough, detail, and sparkle clean model builders actually use.
What is the ultimate checklist for home renovation?
It covers debris removal, top-to-bottom dusting, a three-stage clean, and a final HEPA vacuum and mop, finished with a check of vents, filters, and every room against a signed handover list. Sorted Home Solutions’ renovation checklist walks through the project-management side of this alongside the cleaning steps.
What does post-renovation cleaning include?
It includes bulk waste removal, dusting from ceiling to floor, HEPA vacuuming, adhesive and paint-spot removal, grout-haze treatment after the cure window, and a final polish of every surface before handover.
What is the 6/10 rule for cleaning houses?
There’s no established rule tied to renovation cleaning standards. It doesn’t appear in trade or legislative guidance on post-build cleaning, so treat any claim about it with caution.
How much does a professional reno clean cost?
Pricing depends on project size and the state of the site, so it’s not something you can pin to one figure. Sorted Home Solutions lists current package pricing for kitchen and bathroom renovations, which include final presentation, on its pricing page.
Recommended
Comments