

3 Renovation Moves That Transform Open Plan NZ Homes, Consent Notes

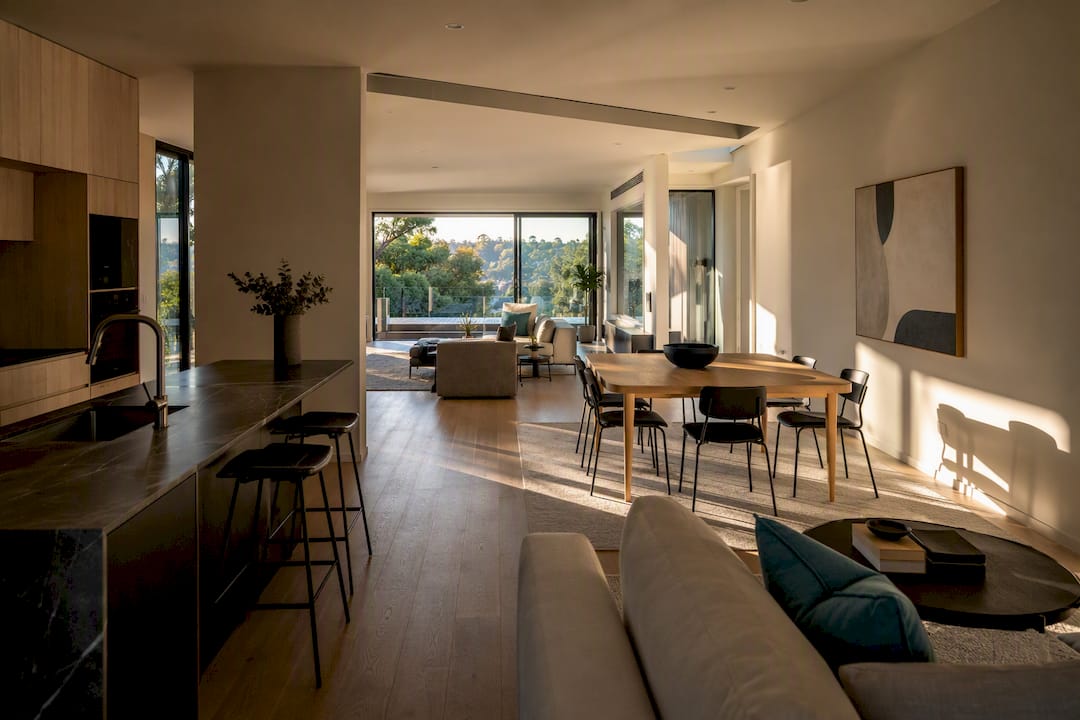
The three moves that deliver the most visible change are a properly sized kitchen island, zoning with rugs and floating furniture, and layered lighting that separates zones without walls. All three can usually be done without a building consent, but if your plan touches a load-bearing wall or moves plumbing, you’ll need consent and often a Licensed Building Practitioner. The numbered list below covers nine ideas worth considering, with consent flags where they apply.
TL;DR:
Moving plumbing or structural changes for an island or material transitions often require building consent and an licensed building practitioner, especially if load-bearing walls are involved.
Properly sizing and positioning an island depends on at least 42 inches of clearance on walkways and 48 inches where two people work back-to-back, supporting the existing work triangle.
Zoning with rugs and floating furniture should match the furniture footprint, with circulation routes kept 36 to 42 inches wide, to maintain flow and visual cohesion.
Layered lighting with dimmers and three different layers per zone improves space separation, with pendants hung 30 to 36 inches above surfaces and thoughtful fixture placement.
Acoustic treatments and soft furnishings are essential for reducing noise spill in open plans, while partial walls or furniture arrangements can provide privacy when needed.
Table of Contents
9 open plan renovation ideas worth considering
Some of these are weekend projects. Others need a builder, a consent application, and a few months of patience. Here’s the full spread, roughly in order of impact.
Island or peninsula as the anchor point — gives the kitchen a working centre and a casual eating spot. Needs consent if it involves new plumbing or structural changes.
Rugs and floating furniture for zoning — the cheapest way to separate living, dining, and kitchen without touching a wall.
Layered lighting zones — pendants over the island, floor lamps in the lounge, dimmers throughout.
Open shelving or slatted dividers — a physical boundary that still lets light through.
Material and ceiling transitions — a change in flooring or a dropped ceiling section signals a new zone.
Floating furniture arrangements — sofas and consoles placed away from walls, defining space by orientation.
Acoustic fixes — rugs, curtains, and panels to tame the echo open volumes create.
A second lounge or media room — for households that need genuine separation.
Storage-driven boundaries — cabinetry or bookcases that double as room dividers.
Items 1, 5, and 9 are the ones most likely to trigger consent requirements if they involve structural work, new drainage, or moved plumbing.
How to plan and size a kitchen island or peninsula
An island only works if you can move around it without bumping elbows. The standard rule renovators use is a minimum of 42 inches of clearance on the walking sides and 48 inches where two people might work back to back, such as between the island and the stove. Get this wrong and the “anchor point” becomes a daily obstacle course instead of a feature.
Before you commit to a layout:
Map your existing work triangle (sink, stove, fridge) and place the island so it supports that triangle rather than blocking it.
Decide early whether the island needs plumbing (a prep sink) or just power, because that decision changes the consent picture entirely.
Leave sightlines open between the kitchen and living area. A waterfall benchtop with no upper cabinetry does more for openness than any paint colour.
If your island moves plumbing or requires new structural support, that work falls under restricted building work and needs an LBP for design or supervision. A cosmetic reface of existing cabinetry stays exempt.
Pro Tip: Mock up your island footprint with painter’s tape on the floor before you order benchtops. Walk the space for a day. You’ll spot pinch points that a floor plan never shows.
Zoning with rugs and floating furniture: the measurements that matter
Rug size should follow the furniture footprint, not the room size. For a living zone, the rug needs to sit under the front legs of every sofa and chair in the group, otherwise the zone reads as floating and disconnected rather than anchored.
For dining zones, add 24 to 30 inches beyond the table edge on every side so chairs stay on the rug even when pulled out. Designers working with open plans routinely protect a main circulation route typically ranging between three to four feet in width through the space, mapping daily trips before any furniture goes in.
Map your actual daily paths first (kitchen to laundry, front door to lounge) and keep those corridors furniture-free.
Float sofas away from walls to create a defined room within the room, backed by a console or bookshelf rather than pushed flush against plaster.
Repeat one or two finishes (a timber tone, a metal finish) across every zone so the open plan still feels like one house, not three showrooms stitched together.
36 to 42 inches is the circulation width interior designers consistently protect in open-plan homes, regardless of how the furniture is arranged around it.
Lighting zones and layered illumination
Light is what actually separates a kitchen from a lounge when there’s no wall between them. One ceiling light in the middle of an open plan flattens the whole space into a single, shadowless box. Layering fixes that.
Aim for three layers in every zone: ambient (general ceiling light), task (pendants over the island, reading lamps by the sofa), and accent (wall sconces, under-cabinet strips). Colour temperature matters as much as fixture choice. Living and dining areas read best at 2700 to 3000K, a warm white that feels residential rather than clinical.
Pendants over an island should sit 30 to 36 inches above the benchtop, spaced evenly along its length.
Dimmers on every circuit let you switch between a bright cooking mode and a low, moody dinner setting without rewiring anything.
LED strip lighting under open shelving or cabinetry adds a low-cost accent layer and cuts running costs compared with older halogen downlights.
Wiring for extra circuits and dimmer banks is worth planning during a renovation rather than retrofitting later. A kitchen lighting plan drawn up before walls close in saves you from chasing cables through finished plaster.
Open shelving and dividers that keep the light moving
A divider that blocks light defeats the purpose of going open plan in the first place. The proportion that works is roughly 60 to 70 percent openness, meaning the shelving or slats let more light and sightline through than they block. Anything denser starts to feel like a wall with extra steps.
Keep shelving depth around 10 to 12 inches so units read as light dividers, not storage walls.
Slatted timber partitions with 1 to 2 inch gaps between battens screen a laundry or study nook while letting daylight pass.
Choose dividers that double as storage. A bookcase or open pantry solves clutter and zoning in one build, which matters more once the “wow” of an open plan wears off and daily mess sets in.
A range of interior door and partition styles can also work as a permeable boundary, giving you the option to close a space off occasionally without committing to a permanent wall.
Material and colour transitions instead of walls
Changing the flooring material at a zone boundary is a strong visual cue, but it comes with trade-offs. Hard flooring transitions (tile to timber) hold up better than carpet-to-hard transitions in high-traffic kitchens, though the acoustic cost is real. Tile and timber both bounce sound more than a rug does, so if you’re removing carpet for a cleaner look, budget for soft furnishings to compensate.
Ceiling treatments do similar work overhead. A soffit, a coffered section, or a dropped ceiling panel over a dining table or island signals “this is a distinct zone” without a single stud wall.
Use flooring changes for zones with different durability needs (wet kitchen vs. soft lounge), and rugs where the base floor is fine as-is.
Anchor a dining or island zone with a ceiling drop, paint colour shift, or exposed beam detail.
Pick one neutral base colour for the whole open plan, then layer in two supporting accent colours repeated across cushions, art, and joinery so each zone still belongs to the same house.
Fixing echo and sound spill in open volumes
Open plans amplify noise because there’s nothing to absorb it. A dinner party conversation carries straight into a home office. A blender at 7am wakes the whole house. Soft furnishings are the first and cheapest fix.
Add a thick rug pad under every rug, not just the rug itself, since the pad does most of the sound absorption.
Hang full-length curtains even over windows that don’t need them for privacy, since fabric volume cuts reverberation.
Use upholstered furniture over hard-surfaced pieces wherever the layout allows it.
If none of that is enough, particularly for a work-from-home zone that needs real quiet, a second lounge or partial wall gives you genuine acoustic separation while the main living area stays open.
Pro Tip: If you’re setting up a permanent desk inside an open plan, position it at right angles to the main circulation path rather than facing it. You’ll notice foot traffic less, and video calls won’t have people walking behind you.
The trade-offs nobody mentions in the inspiration photos
Open plan living has real costs that rarely make it into the glossy renders. Knowing them upfront means you can design around them instead of discovering them after the builders leave.
Privacy and noise carry through the whole floor. A phone call in the kitchen is audible in the lounge. Mitigate with the zoning and acoustic strategies above, or a second lounge for genuine separation.
Heating and cooling a large open volume costs more than heating separate rooms, since there’s more air to move and no doors to close off unused space. Zoned heating or a well-placed heat pump helps.
Resale value can actually improve with intentional zoning, because buyers respond to defined areas even within an open plan, rather than one undifferentiated barn-like space.
Real projects, consent handling, and staged living
Getting the design right is one job. Getting through council and keeping your household functional during the build is another, and it’s usually the part that catches homeowners off guard.
Consent touchpoints tend to cluster around a few predictable moments. A pre-application meeting (PIM) is worth booking before you lodge anything, since it flags problems while they’re still cheap to fix. Removing an internal load-bearing wall or relocating a sink almost always needs an LBP involved, either for design or supervision, under restricted building work rules. Cosmetic changes, like a kitchen reface with no plumbing moves, generally stay exempt.
Book a PIM early if your plan touches structure or drainage.
Confirm which trades need to be LBPs before you sign a contract, not after.
Ask how the household will function during the build, particularly the kitchen.
Staged living matters more than most renovation plans acknowledge. A weekend spent setting up a temporary kitchen keeps a family functioning through months of consented works, rather than living on takeaways and disrupted routines.
Sorted Home Solutions documents this kind of staging in its temporary kitchen guide, and its before and after gallery shows how open-plan projects actually land once consents clear and the dust settles.
Bringing natural light into an open plan without losing privacy
Open plan spaces live or die on natural light, since one badly lit corner can make the whole floor feel smaller than it is. The goal is maximising daylight penetration while still giving you control over glare and privacy at different times of day.
Sheer curtains or roller blinds in a light-filtering fabric let daylight flood the kitchen and dining zones during the day while softening direct sun on a west-facing window in the evening. Layer them with a block-out option only where you actually need it, such as a media corner or a bedroom-facing window, rather than covering every pane with heavy drapes by default.
Larger openings change the character of a room more than most people expect. If your renovation includes new windows or bifold doors onto a deck, position them to pull light deep into the centre of the plan, not just along the perimeter. A kitchen at the back of an open plan often reads darker simply because light stops at the living room windows and never reaches the island.
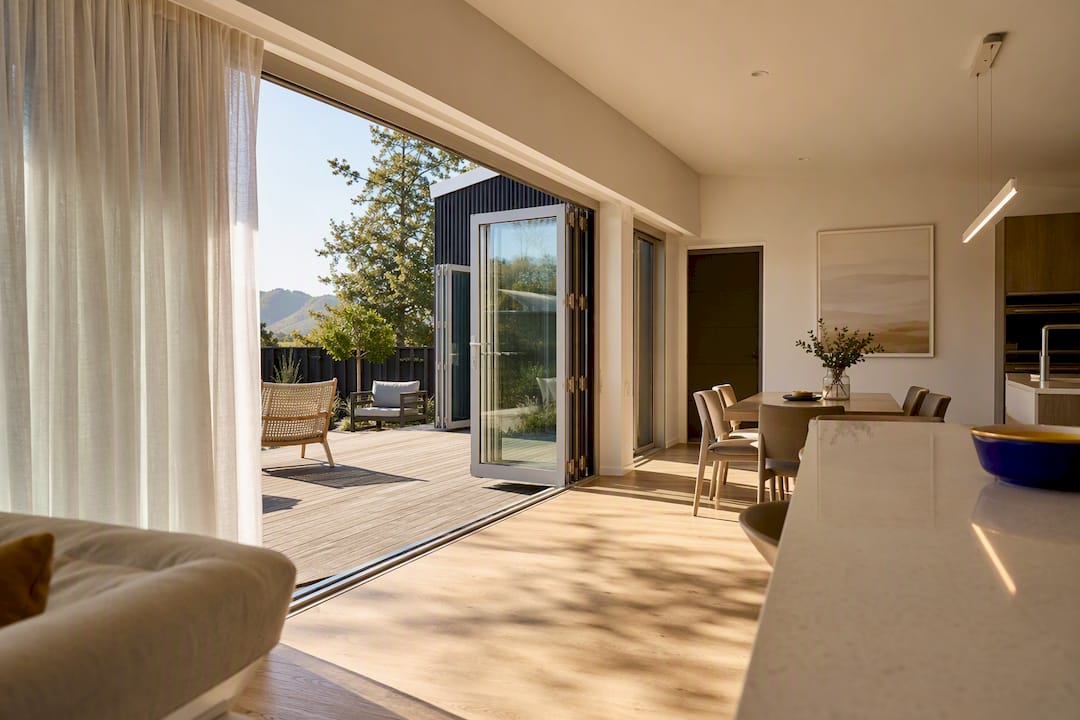
Skylights or a single roof window over a dining table can rescue a zone that has no direct wall access to the outside, which is common in mid-house kitchens created by knocking through an original wall. Reflective surfaces help too: a gloss splashback or a pale benchtop bounces light further into the room than a matte, dark equivalent.
Window treatments should also match the zone’s actual use. A kitchen window over the sink rarely needs full block-out, while a lounge used for evening television benefits from one that closes properly.
Furniture that earns its keep in an open plan
Fixed rooms hide furniture that only works one way. Open plans expose it, since every piece is visible from almost everywhere else in the space. That’s why flexible, multi-use furniture matters more here than in a traditional room-by-room layout.
A dining table that extends for guests but shrinks back to a four-seater on a Tuesday night avoids dedicating permanent floor space to a rarely-used full size. Ottomans with storage double as coffee tables, footrests, and overflow seating without adding visual clutter. A console table behind a floated sofa can hold a printer or extra crockery while still doing the job of anchoring the lounge zone.
Modular sofas are worth the extra planning time. Because you can reconfigure the sections, a modular piece adapts as your household’s use of the space changes, whether that’s a bigger gathering at Christmas or a home office nook that needs walling off temporarily with a sofa back.
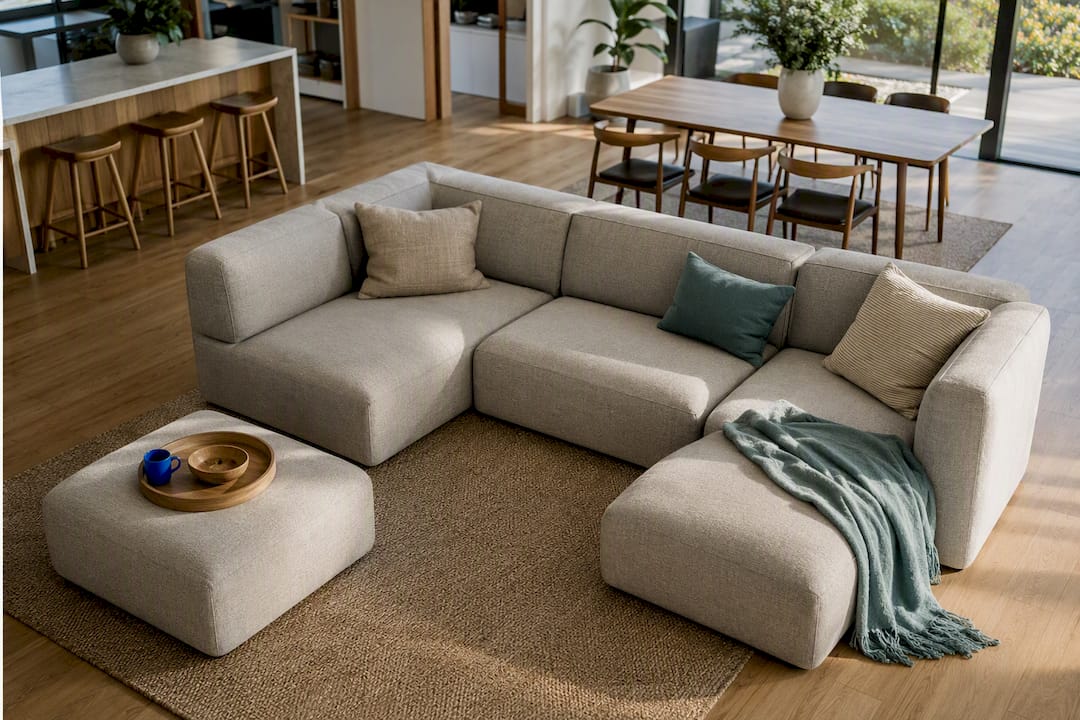
Look for pieces on castors or lightweight enough to shift easily, particularly anything that might need to move for a work-from-home day or a kids’ play session. Furniture that’s easy to reposition means the zoning strategies covered earlier in this article stay flexible rather than fixed the day the movers leave.
Smart home systems in an open plan design
Technology plugs neatly into open plan living because the whole point of the layout is fewer physical boundaries, and smart systems replace some of what those boundaries used to do. A single smart lighting system, for instance, can hold separate “scenes” for the kitchen, dining, and lounge zones even though they share one ceiling and one power board.
Multi-room audio lets you play music in the kitchen without it blaring into a home office at the other end of the same floor, using zone-specific speakers rather than one central system. Smart blinds on a timer or app control can open the kitchen windows for morning light and close a lounge-facing window automatically once the sun gets low, doing the work a physical wall would otherwise do.
Smart thermostats and zoned heating controls matter more in open plan homes than in a house with individual rooms, because a single large volume heats and cools less evenly than several small ones. A system that reads temperature at both ends of the floor and adjusts output accordingly avoids the classic open plan complaint of a warm kitchen and a cold far corner.
If you’re planning wiring during a renovation, this is the point to run extra data and power points for speakers, sensors, and control panels, since retrofitting them after walls and ceilings are finished costs considerably more than running them during the build.
What an open plan renovation actually costs
Open plan work spans a wide range, because the price is driven far more by whether you’re moving structure and services than by square metreage alone. Cosmetic zoning, rugs, lighting layers, a lick of paint, and some open shelving sits at the affordable end, since none of it touches consent.
The cost jumps once you introduce a new island with plumbing, a knocked-through wall, or a ceiling change requiring engineering input. Those projects need a builder, potentially an engineer for load calculations, an LBP for the restricted work, and a council consent fee on top of the build cost itself.
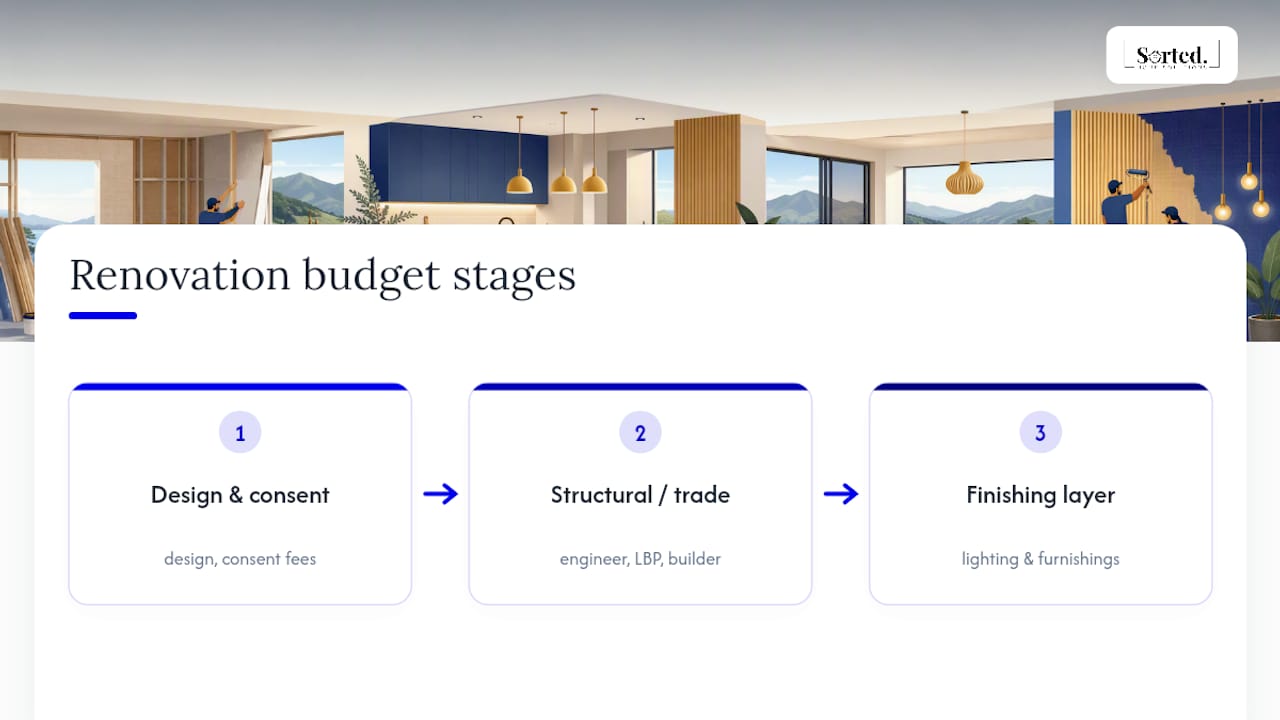
Budget in three parts rather than one lump figure: the design and consent stage, the structural or trade work, and the finishing layer (lighting, furniture, soft furnishings). Homeowners who only budget for the visible finishing layer are the ones who get caught out when a load-bearing wall turns out to need an engineered beam.
Sorted Home Solutions publishes indicative kitchen and bathroom pricing that’s worth reviewing before you finalise a layout, since knowing the tiers upfront helps you decide whether an island with new plumbing fits the budget or whether a peninsula without services gets you 80 percent of the look for a fraction of the cost.
How to keep some privacy in an open plan home
Total openness sounds appealing until someone needs to take a work call while dinner’s being cooked twenty feet away. Retaining pockets of privacy inside an open plan is less about giving up the concept and more about being deliberate with a handful of the ideas covered earlier.
Slatted or open shelving dividers, covered earlier in this guide, let you carve out a study nook or reading corner that’s visually separated without closing off light. Positioning a floated sofa with its back to a walkway creates a soft boundary that discourages foot traffic through a zone meant to feel enclosed, even without a door.
Acoustic measures do double duty for privacy. A rug, curtains, and upholstered furniture that soften noise for comfort also stop conversations carrying as far, which matters if you want the lounge to feel separate from a kitchen full of dinner guests.
For households that genuinely need a closed-off space daily, whether for work calls, teenagers, or shift-working parents sleeping at odd hours, a second lounge or a single closable room off the main open plan solves what soft furnishings alone can’t. It’s a bigger renovation decision, but it’s the one that actually delivers privacy rather than just the appearance of it.
Bifold or sliding doors between an open kitchen and a media room offer a middle path: open most of the time, closable when the situation calls for it.
Prioritise how you live, not how it photographs
Open-plan renders sell a fantasy of one continuous, sunlit space. Real households need somewhere to escape the noise, a spot for homework that isn’t three feet from a simmering pot, and heating that doesn’t leave one end of the floor cold all winter. Design for your actual daily routine first: map how people move through the kitchen at 7am and 6pm before you choose a single finish.
Run through a short checklist before committing to a fully open layout: how much noise can the household tolerate, how many people need quiet space at the same time, and whether circulation paths clash with where people actually sit. If two or three answers point to conflict, a partial divider or a second lounge is the better call, not a compromise.
Openness should serve how you live, not the other way around.
— Rudi
How Sorted Home Solutions handles your open plan renovation
Getting the design right is only half the job. The other half is coordinating builders, plumbers, electricians, and the council consent process without it becoming your full-time task for six months. All aspects of the renovation can be managed under one contract and one point of contact, so you’re not chasing separate trades or translating between a builder and an LBP yourself.
A first enquiry usually starts with a walk-through of your space and a conversation about what’s structural, what’s cosmetic, and what needs consent before any pricing gets locked in. From there, you get a fixed-fee scope rather than an open-ended estimate that creeps as the project goes. If you’re weighing up an island with new plumbing against a simpler peninsula, that’s exactly the kind of decision a full home renovation package is built to work through with you, backed by transparent pricing tiers for kitchens and bathrooms. Get in touch through the enquiry page to start that first conversation.
Sources
Recommended
Comments