

Stop Repainting: Use Two Topcoats and Low Sheen Walls for NZ Kitchens

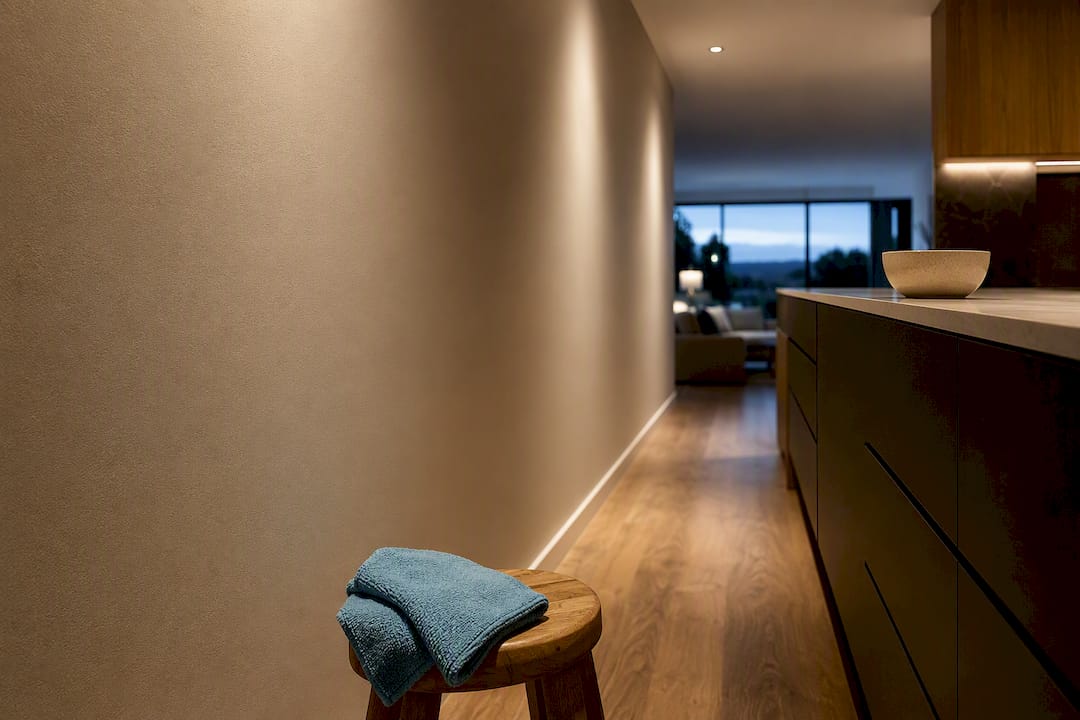
Low-sheen or satin is the right call for most kitchen walls, giving you a washable surface without the glare or fingerprint-showing of high gloss. Reserve semi-gloss for splashback zones, cabinet doors, and anywhere within arm’s reach of the hob or sink. Neither choice will last, though, without proper prep and decent ventilation behind it.
TL;DR:
Use low-sheen or satin paint for most kitchen walls due to their washability and reduced glare, with semi-gloss reserved for splash zones and high-contact areas.
Modern waterborne enamels now offer washability similar to high-gloss oil-based paints, making low-sheen finishes suitable for open-plan spaces.
Proper prep, including degreasing, sanding, priming, and applying two coats, is essential for a durable finish, especially in high-humidity and grease-prone kitchens.
Ventilation and routine cleaning significantly extend paint lifespan, with extraction and immediate grease removal being key to maintaining wall integrity.
Choosing products rated for kitchens and bathrooms, like mould inhibitors, ensures the finish withstands steam, moisture, and repeated washing over years.
Table of Contents
What is the best interior paint finish for a kitchen?
The sheen you pick determines how well your walls handle steam, grease splatter, and the inevitable scrub with a damp cloth. Low-sheen and satin finishes sit at the middle of the gloss scale: enough shine to resist dirt penetration, not so much that every roller mark and wall dent gets thrown into relief under kitchen downlights.
Modern waterborne enamels have changed the equation here. A decade ago, anyone wanting a genuinely wipeable wall had to accept the flat, plasticky look of full gloss. That trade-off has largely disappeared. Modern low-sheen waterborne enamels now deliver washability that used to require high-gloss oil-based paint, which is why low-sheen has become the default recommendation for open-plan kitchen and living walls rather than a compromise choice.
Semi-gloss earns its place in a smaller set of locations. Behind the hob, around the sink, and on any wall that copes with regular splatter, the extra sheen buys you a harder, more solvent-tolerant surface that shrugs off repeated wiping. Everywhere else, that hardness is wasted and the glare works against you.
A simple rule of thumb covers most kitchens:
Use low-sheen or satin across the bulk of the wall area, including open-plan dining and living zones that flow from the kitchen.
Switch to semi-gloss within roughly 0.5 to 1 metre of the highest splash points, cooktop, and sink.
Treat ceilings separately. A flat or low-sheen ceiling paint is fine, since ceilings rarely cop direct grease or water contact.
Avoid flat or matt finishes on kitchen walls altogether, because the porous surface absorbs grease and stains rather than shedding it, and no amount of scrubbing brings it back to original condition.
That last point trips up a lot of renovators who love the soft look of matt paint in a lounge or bedroom and assume it will translate to the kitchen. It doesn’t. A matt wall behind a stovetop will show permanent shadowing within a year or two, regardless of how carefully you clean it.
Which sheens work best for cabinets, doors and trims?
Cabinetry copes with more daily contact than any wall, so it needs a harder film. Satin or semi-gloss are the standard picks for cabinet doors, drawer fronts, and trims, because both resist the scuffing, grease transfer, and handle marks that build up around a kitchen far faster than on a wall.
The bigger risk with cabinetry isn’t sheen selection, it’s blocking, where painted surfaces stick together when doors close against each other in a humid kitchen. A block-resistant, durable waterborne enamel designed for cabinetry handles this far better than a standard wall paint pushed into service on doors. Allowing extended cure time in humid kitchens and using an isolation coat where the substrate calls for it prevents the tacky, half-cured feel that plagues rushed cabinet jobs.
Prep differs depending on what you’re painting over:
Timber doors need sanding back to a sound surface, filling any grain or joint gaps, and priming with a product suited to timber before topcoating.
Laminate doors need a bonding primer specifically formulated for slick, non-porous surfaces, since standard primers simply won’t grip.
Both substrates benefit from a light scuff sand between coats to knock back any texture and improve adhesion of the next layer.
Pro Tip: If your kitchen runs hot and humid with limited airflow, leave freshly painted cabinet doors propped open for a full 24 to 48 hours before closing them. Rushing this step is the single most common cause of stuck or marked doors.
Should you paint the splashback or use tile and glass?
High-splash zones are the strip of wall directly behind the hob and around the sink, where water, oil, and food debris hit the surface directly rather than settling as ambient grease. Paint has a ceiling on how much abuse it can absorb here, no matter how good the enamel.
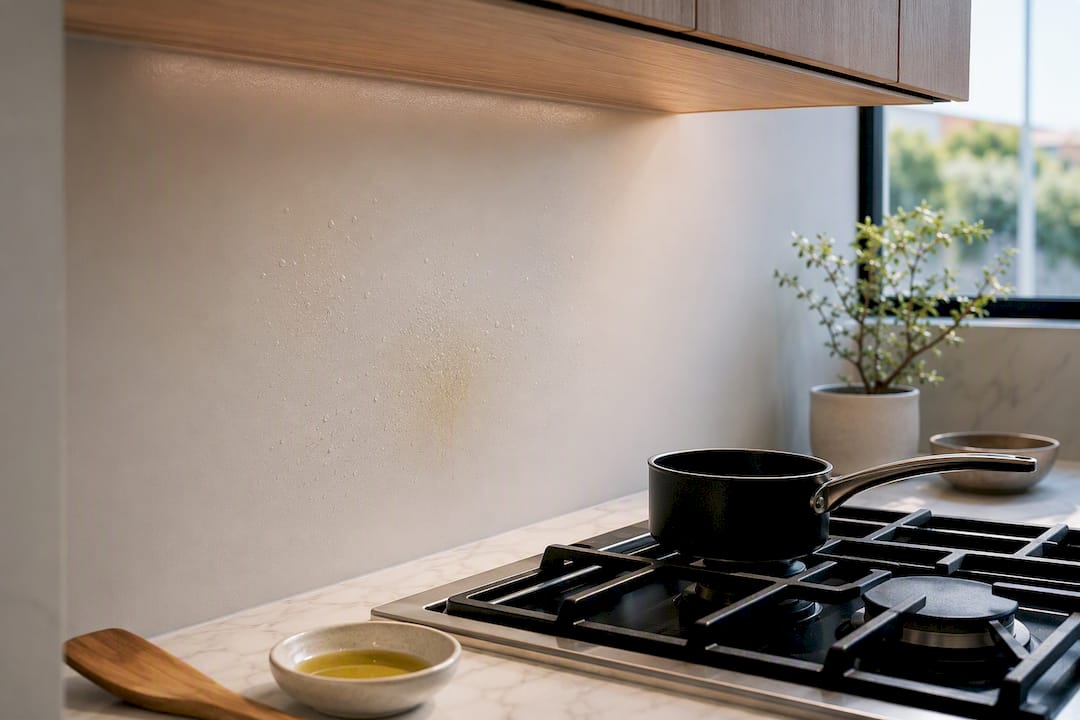
Tile or glass splashbacks are the better long-term choice directly behind the cooktop, where heat and oil spatter are heaviest. Painted splashbacks are perfectly acceptable everywhere else, provided you’re realistic about their limits and willing to repaint sooner in that zone than elsewhere in the kitchen.
If you do paint a splashback area:
Apply an extra coat beyond your standard two-coat system for added film thickness in that zone.
Seal the edge where paint meets any existing tile or benchtop with a flexible sealant to stop moisture creeping behind the finish.
Feather the paint line neatly up to existing tiles rather than trying to butt it hard against grout lines, which tends to chip.
Why choose kitchen and bathroom rated paint products?
Standard interior wall paint isn’t built for a room that generates steam daily and copes with airborne grease. Products specifically labelled Kitchen & Bathroom include additives such as mould and mildew inhibitors, which matters far more in a kitchen than the sheen level alone.
Resene SpaceCote Low Sheen Kitchen & Bathroom and Resene SpaceCote Flat Kitchen & Bathroom are two of the more commonly specified waterborne enamels in New Zealand kitchens, built to withstand steam and repeated washing while resisting mould growth in the corners and behind appliances where ventilation is weakest. The standard Resene SpaceCote Low Sheen remains a solid option for adjoining living areas that don’t cop the same steam load.
A few things worth checking before you buy:
Confirm the product is labelled for kitchen or bathroom use specifically, not just a general low-sheen or satin interior paint.
Ask about VOC content if you’re painting an occupied home, since low-VOC options reduce odour and off-gassing during the first few weeks after painting.
Waterborne enamels have largely replaced solventborne gloss in modern kitchens, partly because good extraction and glass or tiled splashbacks make the old durability advantage of oil-based paint less necessary.
What’s the right prep and painting system for a durable finish?
Paint failure in kitchens almost always traces back to skipped prep, not a bad product choice. The system that holds up over years rather than months follows a consistent order, and skipping steps to save a weekend rarely pays off.
Degrease thoroughly. Grease film on kitchen walls stops paint from bonding properly, even when the surface looks clean. A dedicated product such as Resene Interior Paintwork Cleaner, or a comparable heavy-duty kitchen degreaser, lifts residue that a standard sugar-soap wipe leaves behind.
Fill and sand. Fill any holes, dents, or joint gaps, then sand old enamel surfaces back with roughly 220 grit to give the primer something to grip.
Prime where needed. Bare timber, stained areas, or patched sections generally need a waterborne primer or stain-blocker before topcoating, particularly over old smoke or grease staining that can bleed through otherwise.
Apply two topcoats. Two coats of a kitchen-rated enamel such as Resene SpaceCote Low Sheen is the standard system for most walls, though darker colours or heavily stained substrates sometimes need a third coat for even coverage.
Mask carefully. A sharp line where wall meets tile, benchtop, or trim makes the whole job look considerably more finished, so take the time to mask properly rather than cutting in freehand throughout.
Pro Tip: Buy slightly more paint than the tin calculator suggests. Kitchen walls with a lot of cabinetry cutouts and corners use paint less efficiently than an open bedroom wall, and running short mid-coat on a feature colour is a genuine hassle to match later.
How do you protect and maintain a painted kitchen finish?
Ventilation does more for paint longevity than most homeowners assume. Improving mechanical extraction, whether that’s a rangehood upgrade or simply opening windows during and after cooking, often protects a paint film better than repeated repainting ever will, because it stops steam and grease from settling on the wall in the first place.
Cleaning routine matters just as much as the product on the wall:
Wipe walls with a soft cloth and mild detergent solution rather than reaching for strong solvents, which can dull or lift a paint film over time.
Deal with grease splatter as it happens rather than letting it bake on and become harder to shift.
Address any mould spotting immediately with a mould-specific cleaner rather than scrubbing repeatedly with an unsuitable product.
Renovation trades estimate a durable kitchen finish using a Kitchen & Bathroom rated enamel lasts several years with proper prep and maintenance, though high-use zones may need touch-ups sooner before it needs a proper repaint, with high-use zones like around the hob sometimes needing a touch-up sooner.
Quick checklist: choose, prep, apply, maintain
Run through this before you pick up a brush:
Walls: low-sheen or satin, kitchen and bathroom rated.
Splashback: semi-gloss if painted, tile or glass directly behind the hob.
Cabinets and doors: satin or semi-gloss, block-resistant formulation.
Ceilings: flat or low-sheen is fine.
Trims: semi-gloss for wipeability and definition.
Prep essential | Why it matters |
Degrease before sanding | Grease blocks proper paint adhesion |
Sand old enamel (220 grit) | Gives new coats a surface to grip |
Prime stains and bare timber | Stops bleed-through and improves bonding |
Two full topcoats minimum | Builds the film thickness that survives washing |
Maintenance comes down to two habits: run your extraction every time you cook, and clean grease off before it sets.
Sorted Home Solutions’ view from the tools
Every kitchen finish decision changes depending on the layout in front of you. On projects our teams manage, the finish gets specified alongside the extraction plan and splashback material, not after them, because a paint choice made in isolation from ventilation almost always underperforms. This article draws on that same trade logic: sheen matters, but prep and airflow decide whether it lasts.
— Rudi
How Sorted Home Solutions handles kitchen painting for you
If reading through primers, degreasers, and cure times has you leaning toward handing the job to someone else, that’s a reasonable call. Sorted Home Solutions manages the entire kitchen painting process as part of a broader renovation, coordinating prep, product selection, and any ventilation upgrades under one point of contact, so you’re not juggling separate trades for the paint, the rangehood, and the splashback yourself.

A typical kitchen job through Sorted Home Solutions covers proper degreasing and surface prep, kitchen and bathroom rated waterborne enamels matched to walls, cabinets, and splashback zones, and any extraction fixes needed to protect the finish long term. Work comes with a workmanship guarantee, and pricing is set upfront rather than estimated as you go, which you can check on our kitchen and bathroom renovation pricing page. For open-plan kitchens where fabrics near the cooking zone also need to resist humidity, stain-resistant window treatments are worth considering alongside your paint plan.
Browse completed projects in our kitchen renovation gallery, or if you’re ready to talk through your own kitchen, get in touch through our inquiry page for a quote.
Sources
Recommended
Comments