

Stop Bathroom Damp in NZ: Heating That Works With Proper Extraction

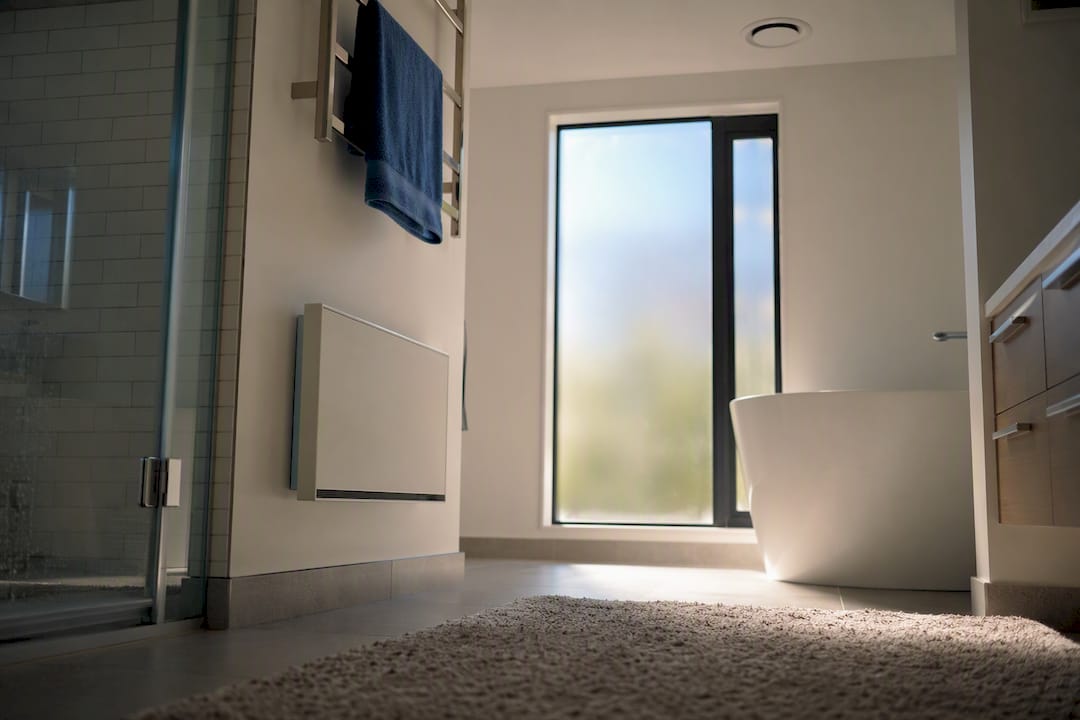
For most New Zealand bathrooms, the practical fix is background heat (a fixed towel rail, underfloor mat, or heat pump) paired with short-period radiant or fan heat for when you’re actually in there, plus an extractor fan ducted straight outside. BRANZ frames this as two jobs, not one: lowering everyday humidity and handling the burst of steam from a hot shower. Get both right and dampness stops being a recurring headache. The options below break down what each type of heater actually does, what it costs to run, and where it fits.
TL;DR:
Proper bathroom heating must be paired with effective external extraction to prevent long-term moisture damage and mould growth.
Background heat sources like towel rails are affordable to run and suitable for small, well-insulated rooms, but larger or drafty bathrooms require more robust systems.
Instant spot heating from heat lamps or infrared panels is useful during showers, but they do not address humidity and must be combined with ventilation.
Underfloor heating provides the best moisture control by heating surfaces to prevent condensation, though installation often involves significant renovation work.
Coordinating heating, ventilation, and electrical work through a single contractor reduces common retrofit mistakes and ensures compliant, long-lasting solutions.
Table of Contents
Heated towel rails: background warmth with a practical bonus
Fan heaters and ceiling 3-in-1 units for fast whole-room heat
Infrared wall panels: discreet radiant heat for damp-prone rooms
Heat pumps for bathroom heating: efficient but often overkill
Underfloor heating: the best-practice option for damp-prone bathrooms
How to choose the right bathroom heating setup for your home
Ventilation is not optional: what BRANZ and EECA actually recommend
Why most bathroom heating advice misses the ventilation half
Heated towel rails: background warmth with a practical bonus
A heated towel rail does two jobs at once: it dries your towels and puts out gentle, steady warmth into the room. It’s convective heat, meaning it warms the air around it rather than blasting heat at you, so don’t expect it to make a cold bathroom toasty in five minutes. Think of it as the background layer BRANZ recommends, not the whole solution.
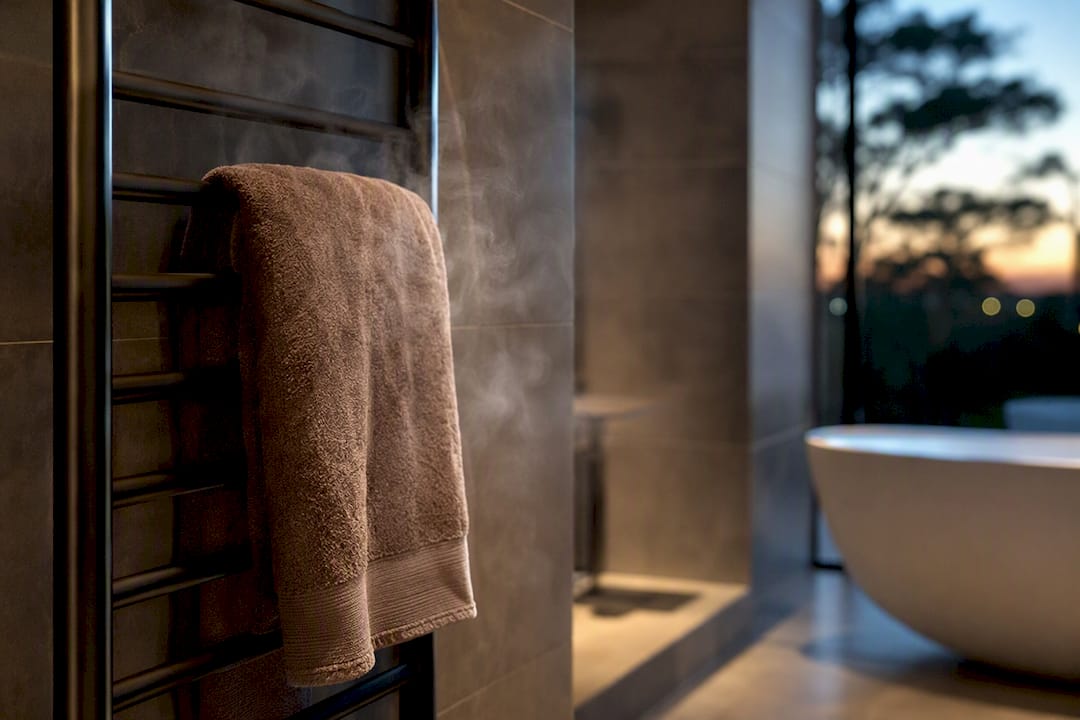
Most electric towel rails draw modest power compared to fan heaters or heat lamps. Running a typical towel rail continuously for a month costs a small amount at typical New Zealand power prices tracked by Canstar Blue. That’s cheap enough that many households leave them on a timer through winter rather than switching them on and off.
Pro Tip: Pair a towel rail on a simple timer with your extractor fan’s run-on setting. You get warm towels, background heat, and moisture control without touching a switch twice a day.
Whether a towel rail is enough on its own depends on the room. In a small, well-insulated ensuite it can cover most of your background heating need. In a larger or draughtier bathroom, it’s better treated as a supplement to a heat pump or underfloor system, with a fan heater or lamp brought in for the few minutes you’re actually showering.
Installation is straightforward either way:
Plug-in towel rails are the simplest retrofit and need no electrician, though placement is limited by where your power point sits.
Hardwired units need a registered electrician and must carry an appropriate IP rating for their zone in the bathroom.
Zone-rated wiring matters more in a bathroom than almost anywhere else in the house, given the moisture exposure.
Ask your electrician to confirm the unit meets council code requirements for wet-area electrical work before signing off.
Heat lamps and infrared panels for instant spot heat
Heat lamps work on a completely different principle to a towel rail. Instead of warming the air, they warm you directly through radiant heat, the same way sunlight feels warm on your skin even on a cold day. That’s why a bathroom can still feel icy while a heat lamp makes standing under it perfectly comfortable. It’s instant, too. There’s no waiting for the room to heat up.
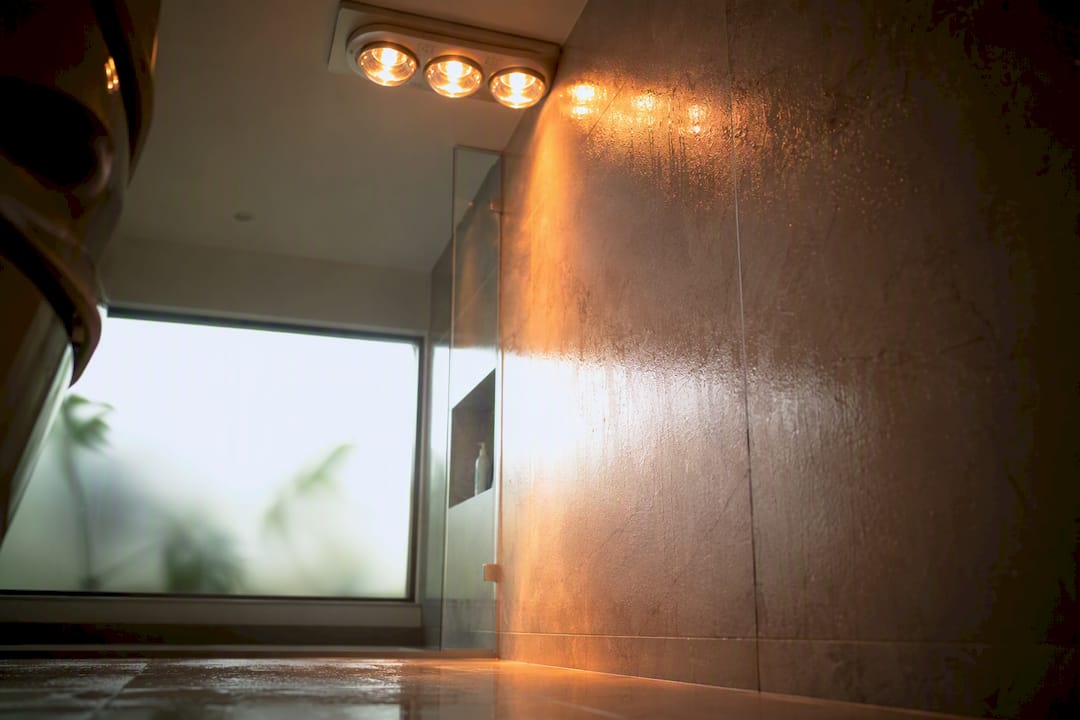
Bathroom heat lamps typically draw a few hundred watts per bulb, and many units use multiple bulbs. Used for 15 to 20 minutes during a shower rather than left running, the running cost is negligible against a monthly power bill. That’s the trade-off: cheap to run in short bursts, but useless as background heat because it only warms the direct line of sight beneath it.
Safety and placement matter more here than with most heater types:
Heat lamps must be mounted at the ceiling height specified by the manufacturer, well clear of the shower cubicle unless rated for direct wet-zone installation.
IP ratings are non-negotiable in bathrooms. Confirm the specific rating suits the exact zone (over the shower, beside the vanity, and so on) before purchase.
Installation should go through a registered electrician, both for the wiring and for correct zone placement under the wiring rules.
Never rely on a heat lamp alone in a bathroom with poor airflow. It does nothing for humidity, so it needs to sit alongside a proper extractor.
Infrared lamps suit anyone who showers at the same time each day and wants immediate warmth without waiting on a room heater to catch up.
Fan heaters and ceiling 3-in-1 units for fast whole-room heat
Wall-mounted fan heaters push warm air out fast, which makes them the quickest way to take the chill off a whole bathroom rather than just the spot under a lamp. Most run with power outputs from about 1000W up to a couple thousand watts, and because they’re forced-air, running costs climb faster than a towel rail or heat lamp if used extensively. Used for short bursts before or during a shower, though, the cost stays reasonable.
These units suit a few specific situations well:
Small ensuites where a quick blast of heat matters more than sustained background warmth.
Rental upgrades or budget renovations where a full underfloor or heat pump install isn’t on the table.
Bathrooms with no existing wiring for anything more elaborate, since many fan heaters can run from a standard wet-area power point.
The trade-off is noise. Fan heaters aren’t silent, and the fan motor is also the first thing to wear out, so expect a shorter working life than a towel rail or infrared panel.
Ceiling 3-in-1 units (heat lamp, exhaust fan, and light combined into one fitting) are common across older and newer New Zealand bathrooms alike, largely because they solve two problems in one ceiling cutout. The catch is that the exhaust side is only as good as its ducting. A 3-in-1 unit ducted into the roof cavity instead of outside does nothing useful for moisture control and can actively cause damage over time, which building.govt.nz flags as a common defect in New Zealand homes. If you’re installing or replacing one, check where the duct actually terminates before you assume it’s compliant.
Infrared wall panels: discreet radiant heat for damp-prone rooms
Infrared wall panels work on the same radiant principle as a heat lamp but in a flatter, more discreet format that mounts flush to a wall like a slim heater panel. Rather than heating the air, they heat surfaces directly, including the walls and floor around them. That matters more than it sounds: warmer surfaces mean less condensation forms on tiles and mirrors, since condensation happens when moist air meets a surface colder than the dew point.
Most residential infrared panels have moderate power ratings, generally between towel rails and fan heaters in running cost and wattage. Because they heat objects rather than air, they can feel warmer at a lower wattage than a fan heater delivering the same energy input, particularly in a draughty room where warmed air escapes quickly.
Getting placement right matters for both performance and compliance:
Wall panels need clearance from water splash zones and must carry an IP rating appropriate to their mounting position.
Mounting height should follow the manufacturer’s guidance. Too low and they become a burn risk near a small child or pet; too high and the radiant effect weakens.
A timer or thermostat control gets the most out of a panel, since radiant heat is most efficient when it runs for a defined window rather than all day.
Pairing a panel with a vented extractor covers both sides of the BRANZ recommendation: surface warmth to reduce condensation, and airflow to remove the moisture load altogether.
Heat pumps for bathroom heating: efficient but often overkill
A heat pump delivers more heat per dollar of electricity than any resistance heater, which is why it’s worth considering for background bathroom heat, particularly if you’re already running one elsewhere in the house. The efficiency gain comes from moving heat rather than generating it, so a heat pump can produce several units of heat output for each unit of electricity it consumes, unlike a towel rail or fan heater which converts electricity to heat roughly one for one.
That efficiency only pays off at a certain scale. A dedicated split system for a small ensuite is usually more machine than the room needs. Heat pumps make more sense for larger bathrooms, ensuites that open into a bedroom, or homes where ducted or multi-room heat pump systems already reach the bathroom zone.
Pro Tip: If your bathroom already sits within reach of an existing heat pump’s airflow, extending that system is often cheaper and simpler than installing a standalone bathroom unit.
A few practical considerations before committing:
Installation is more involved than a towel rail or lamp. It needs a qualified installer, refrigerant handling, and sometimes a wall penetration that affects your building consent depending on scope.
Condensation from the outdoor unit and internal drainage needs to be planned properly in a wet-area context.
Smart controls, including scheduling and humidity-linked settings, let you run the heat pump only during the hours it’s actually needed, which keeps running costs sensible despite the higher upfront installation cost.
Underfloor heating: the best-practice option for damp-prone bathrooms
Underfloor heating solves the exact problem that causes most bathroom condensation. Cold tile floors sit below the dew point of moist bathroom air, so moisture condenses on them, and a warm floor simply removes that condition. BRANZ guidance on temperature control notes that warmer floor surfaces help prevent condensation forming on tiles and grout, which is exactly why underfloor systems get recommended so often in renovation advice.
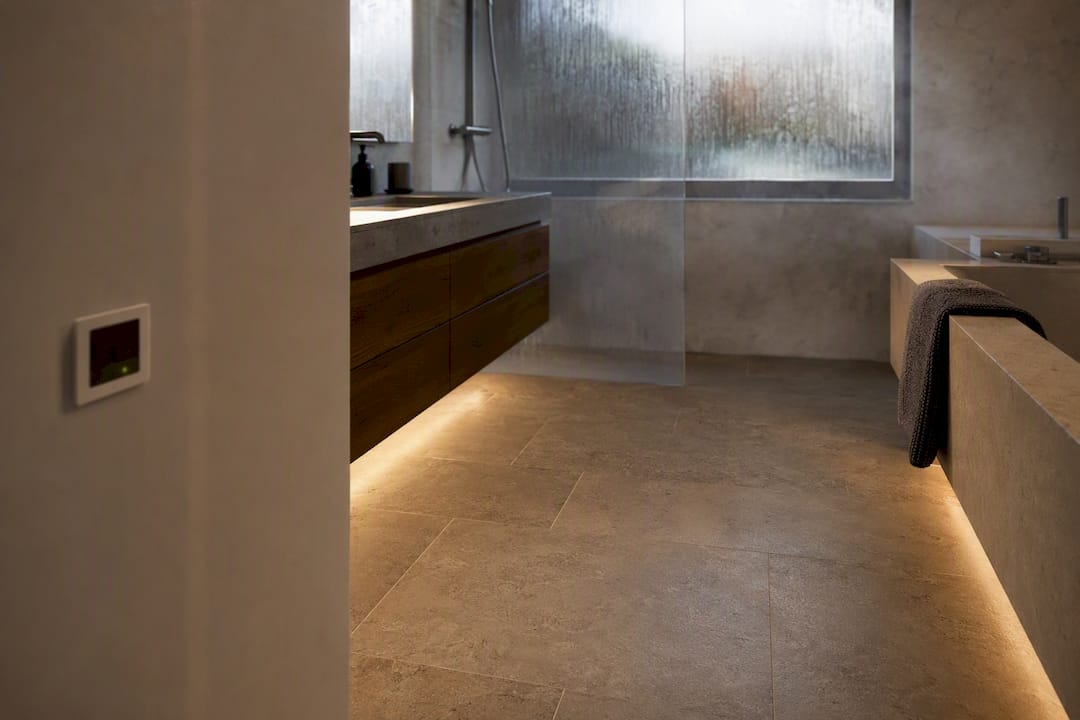
New Zealand renovations lean heavily toward electric underfloor mats over hydronic (water-based) systems for bathrooms, mainly because electric mats sit thin within the tile adhesive layer, keep the finished floor height low, and retrofit into an existing bathroom far more easily than running hydronic pipework. Hydronic systems still make sense where a house already has a central hydronic heating loop to tap into, but for a standalone bathroom retrofit, electric is the more common and less disruptive choice.
The warm-up behaviour differs from other heaters too. Tile has real thermal mass, so an underfloor system takes longer to reach temperature than a fan heater, but it holds that heat far more evenly once it’s there. Run it on a timer to warm up before your morning shower rather than expecting instant heat.
Installation typically means lifting the existing floor covering, which makes underfloor heating a renovation-stage decision rather than a simple retrofit onto an existing floor.
Lifecycle expectations are long. Properly installed electric mats are designed to last as long as the tile floor itself.
Because it heats the whole floor evenly, underfloor heating does more for background humidity control than almost any other single option on this list, particularly in bathrooms with limited natural airflow.
Demist mirrors and other secondary heating extras
Electric demist mirrors solve one specific annoyance: a foggy mirror after a shower. A low-wattage heating element behind the mirror keeps the glass just warm enough to stop condensation forming on it. That’s genuinely useful for convenience, but it does nothing meaningful for room temperature or humidity control.
Best use: stopping mirror fog so you can actually see to shave or apply makeup straight after a shower.
Secondary benefit: a small amount of supplementary warmth right at the vanity, though not enough to notice room wide.
Not a substitute: these units should never be treated as your bathroom’s main heat source. They simply weren’t designed for that job.
Portable plug-in heaters fall into a similar category. They’re fine as a stopgap while you plan a proper renovation, but they’re not rated for permanent use in most bathroom wet zones and shouldn’t replace a correctly installed fixed heater.
How to choose the right bathroom heating setup for your home
Work through these questions before you commit to a heater type, and you’ll avoid the most common and expensive mistake: buying the wrong heat source for the room, then having to retrofit a second one within a year.
Measure the room. A small ensuite (roughly 3 to 6 square metres) needs far less heat output than a family bathroom of 8 to 12 square metres or more. Sizing a heater to match the room, rather than buying whatever’s on special, is the single biggest factor in whether it actually works.
Check the insulation and glazing. An uninsulated bathroom with a single-glazed window loses heat fast, which pushes you toward a background system like underfloor heating or a heat pump rather than relying on a fan heater alone.
Look at the floor and wall finish. Tiled floors benefit most from underfloor heating because of thermal mass; painted or lined walls suit infrared panels or fan heaters without the same renovation-scale disruption.
Assess your existing extraction. If there’s no fan, or it vents into the ceiling space instead of outside, fix that first. No heater compensates for moisture with nowhere to go.
Think about how the room gets used. A bathroom used briefly each morning suits short-period radiant or fan heat; a bathroom used for long baths or by young children benefits more from steady background heat.
Set a realistic budget. Decide early whether you’re solving this with a single retrofit heater or as part of a broader renovation, since the cost difference between the two is substantial.
Ask installers the right questions. Confirm the IP rating for the exact mounting zone, whether the extractor ducts outside rather than into the roof, and whether the job needs council sign-off.
Pro Tip: Ask any installer to show you where the extractor duct actually terminates, not just where the fan sits. A fan that ducts into the ceiling cavity instead of outside is one of the most common and costly defects in New Zealand bathroom renovations.
Request timers, thermostats, or humidity sensors on any heating and ventilation system you install, inspired by practical examples of smart climate controls that help automate bathroom heating and save energy. These controls cost little extra at installation time but make a measurable difference to both comfort and your power bill over the life of the system, and they’re the same tools EECA points to for reducing dampness in New Zealand homes.
Ventilation is not optional: what BRANZ and EECA actually recommend
No heater on this list replaces proper ventilation, and this is the point most homeowners underestimate. Heat can mask a moisture problem temporarily by evaporating surface condensation, but if the moist air has nowhere to go, it ends up in your ceiling cavity, wall linings, or roof space instead. Building.govt.nz is explicit that wet areas need mechanical extract ventilation ducted straight outside, and venting into the ceiling space instead is one of the most common and damaging shortcuts taken in New Zealand renovations.
EECA’s practical guidance backs this up with specific, low-cost interventions:
Extractor fans should be ducted with at least 150mm diameter ducting and run straight to the outside, not into the roof cavity.
A run-on timer or humidity sensor keeps the fan working for several minutes after you leave the bathroom, when moisture levels are often still climbing.
Keeping the bathroom around 18°C reduces relative humidity enough to meaningfully cut condensation risk without needing to run heating constantly.
Shower domes and simple habits, like wiping down tiled surfaces after use, add a further layer of moisture control at almost no cost.
BRANZ’s separate guidance on internal moisture makes the same point from a different angle: venting into ceiling space is a frequent, quiet cause of long-term structural and insulation damage that often isn’t discovered until it’s expensive to fix. If you’re renovating, this is the moment to check and correct extraction routing, not after the new tiles and heater are in.
If you’re planning a wider bathroom upgrade around a renovation, our guide to wet-area compliance covers the waterproofing and ventilation detail that sits alongside heating decisions.
What bathroom heating actually costs to install in NZ
Costs vary with the scope of work, but these ballpark bands give a realistic starting point for budgeting a New Zealand bathroom heating upgrade:
Plug-in fan heaters: the cheapest option, often under a few hundred dollars for the unit with no installation cost since they run from an existing wet-area power point.
Hardwired wall fan heaters or heat lamps: unit cost plus a callout for a registered electrician to wire in and correctly zone-rate the fitting.
Towel rail hardwiring: similar labour scope to a wall heater, generally a straightforward single-visit electrical job if the wiring run isn’t complicated.
Electric underfloor mat retrofit: the most disruptive option on this list, since it usually requires lifting and relaying the floor covering. It’s a renovation-stage job, not a standalone weekend fix.
Heat pump installation: the highest upfront cost, involving a qualified installer, refrigerant work, and sometimes consent depending on the wall penetration and unit placement.
Ceiling 3-in-1 systems: moderate cost, but the real variable is whether new ducting to the outside is needed. Retrofitting ducting into an existing ceiling adds meaningfully to the job.
Timeline follows the same pattern as cost. Plug-in and hardwired point fixes can often be done in a single day once an electrician is booked. Underfloor heating and any job requiring re-ducted extraction typically fold into a broader bathroom renovation timeline, because the floor or ceiling needs to be opened up regardless. For maintenance, resistance heaters (towel rails, panels, fan heaters) have few moving parts and last well with basic care; fan motors and heat pump compressors are the components most likely to need servicing over a 10 to 15 year lifespan.
If you’re mapping out where heaters, ducting, and underfloor systems sit relative to plumbing runs, our bathroom plumbing layout guide is a useful companion for renovation planning.
Why most bathroom heating advice misses the ventilation half
Most guides to bathroom heating in New Zealand read like a shopping list: towel rail here, heat lamp there, pick whichever fits your budget. That framing gets the priority backwards. A heater warms you or the room; it does not remove moisture from the air. Treating heating as the whole solution is exactly why so many otherwise well-renovated New Zealand bathrooms still develop black mould in the corners within a year or two.
The uncomfortable truth is that a $1,500 underfloor heating system installed over a badly ducted or non-existent extractor fan will still leave you with a damp bathroom. Meanwhile a modest towel rail and heat lamp combination, paired with an extractor properly vented outside and running on a timer, will often outperform it on the metric that actually matters: keeping the room dry. BRANZ’s own framing of background plus short-period heating only works as intended when ventilation is doing its job in the background, every single day, whether anyone’s thinking about it or not.
If there’s one thing worth pushing back on, it’s the instinct to spend the whole budget on the most impressive-looking heater and treat extraction as an afterthought. Ducting is unglamorous. Nobody renovates a bathroom because they’re excited about a 150mm duct run to the outside wall. But that duct is doing more for the long-term health of your home than any heat lamp ever will.
— Rudi
Get your bathroom heating sorted properly, start to finish
Sortedhomesolutions brings the electrician, the builder, and the person who actually checks where your extractor duct ends up, all under one contract, so heating and ventilation get planned together instead of bolted on separately by different trades on different days. That coordination is where most DIY bathroom upgrades come unstuck. A homeowner can buy a heat pump or a nice tiled floor easily enough, but getting the ducting, the electrical zoning, and the council code compliance to line up on the same job is exactly the kind of coordination that a single point of contact solves.

If you’re planning a full bathroom renovation, our bathroom renovation service covers everything from layout and tiling through to heating and extraction, managed as one project rather than a string of separate trade bookings. Before you enquire, have a rough idea of your bathroom’s size, current floor finish, and whether you already have an extractor fan and where it vents. You can check indicative costs on our kitchen and bathroom pricing page, or get in touch through our inquiry page to talk through what your bathroom actually needs.
Where to check official guidance
For the underlying detail on condensation and heating strategy, BRANZ’s own guidance on managing temperature control is the primary reference. Building.govt.nz’s page on moisture and ventilation covers the code-related extraction requirements every renovation should meet. EECA’s advice on reducing dampness rounds it out with practical, low-cost steps homeowners can act on immediately.
Sources
Recommended
Comments